Creamy Cacio e Pepe Mac and Cheese

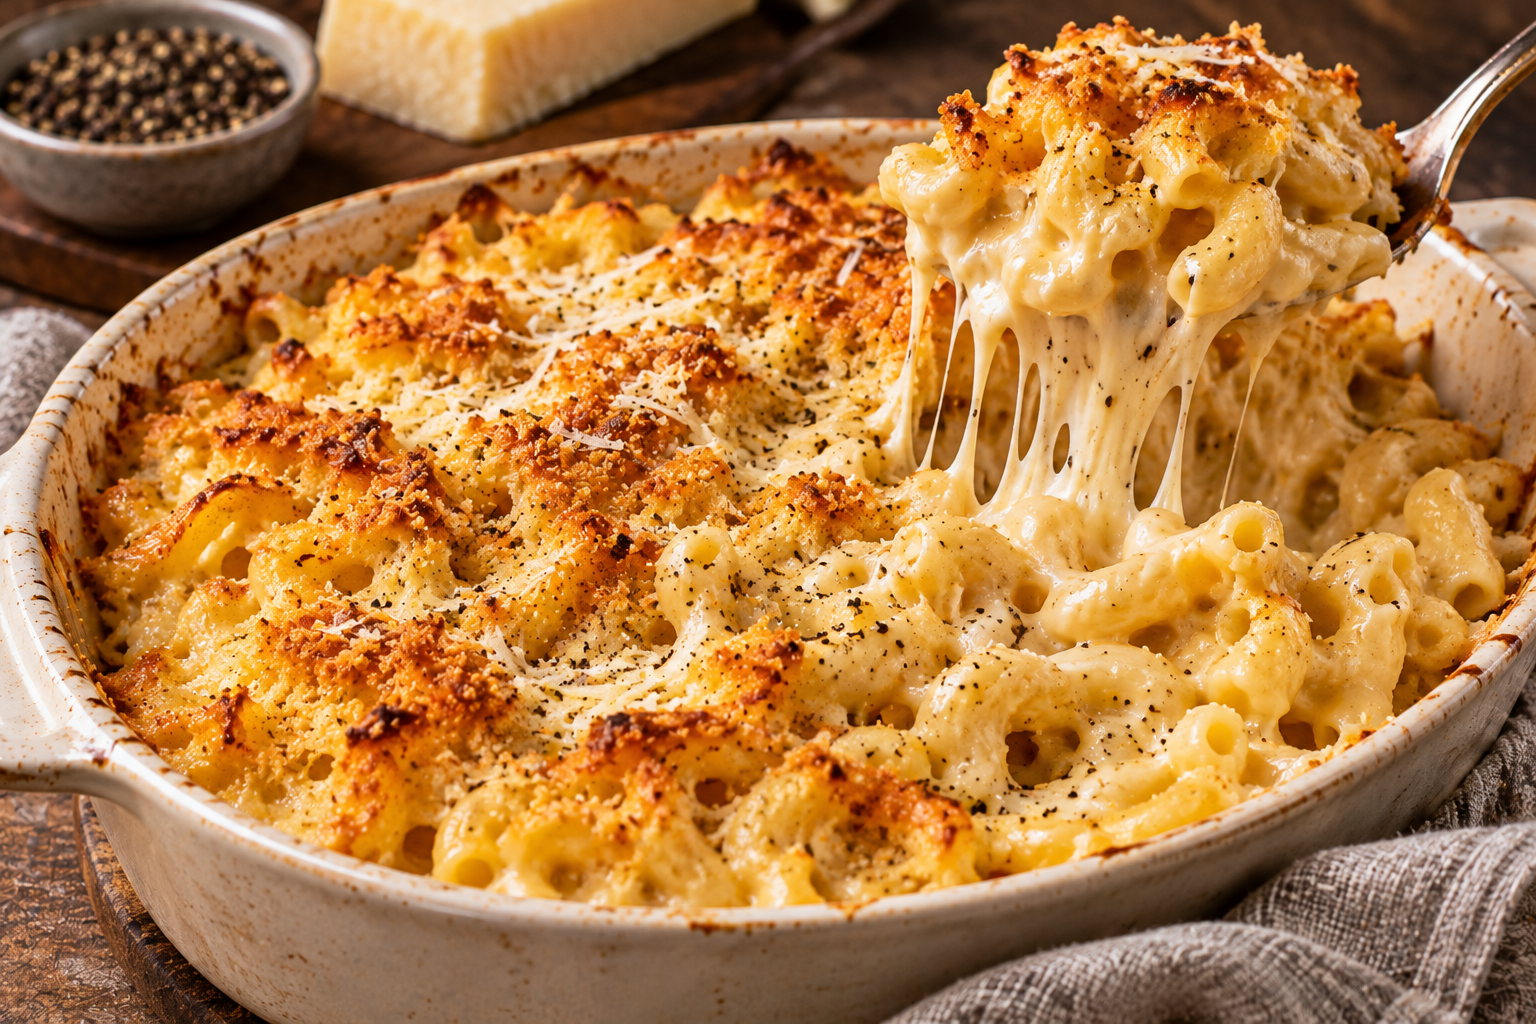
Elbow macaroni is folded into a creamy Pecorino-Parmesan sauce with plenty of cracked black pepper, then baked under a crisp golden panko topping.
Creamy Cacio e Pepe Mac and Cheese
Creamy cacio e pepe mac and cheese combines the comfort of baked macaroni and cheese with the peppery, cheese-forward character of the Italian pasta classic. Elbow macaroni or small shells are coated in a smooth sauce made with butter, flour, warm milk, cream, Pecorino Romano, Parmesan, and freshly cracked black pepper. A layer of panko mixed with more cheese bakes into a crisp, golden topping that contrasts with the creamy pasta underneath.
This recipe serves six and takes about 45 minutes, including preparation and baking. The technique is straightforward, but a few details make a real difference: cook the pasta slightly short of al dente, grate the cheese finely, and lower the heat before adding it to the sauce. Cheese sauces can become grainy if they are boiled after the cheese goes in, so gentle heat and gradual stirring are the keys to a smooth finish. A little reserved pasta water is there to loosen the sauce if it thickens too much.
Why You’ll Enjoy This Recipe
It has a distinct peppery flavor. Freshly cracked black pepper is central to cacio e pepe. It gives the sauce warmth and fragrance, while Pecorino Romano brings a salty, tangy edge and Parmesan adds a nutty depth.
The sauce stays creamy beneath a crisp top. The milk-and-cream sauce coats the pasta, while the panko topping browns in the oven. The combination makes each serving soft in the center with a little crunch on top.
It uses familiar ingredients. Butter, flour, milk, pasta, and grated cheese form the base. There is no need for a complicated sauce or hard-to-find equipment.
It is easy to customize. You can adjust the amount of pepper, use all Parmesan if Pecorino is too sharp, or choose gluten-free pasta and suitable substitutes for the flour and breadcrumbs.
Ingredients You’ll Need
Elbow macaroni or small shells (12 oz / 340 g): Both shapes hold the sauce well. Cook the pasta one to two minutes less than the package’s al dente time because it continues cooking in the oven.
Unsalted butter (3 tablespoons) and all-purpose flour (2 tablespoons): Butter and flour form the roux that thickens the milk into a stable sauce. Whisk the flour into the melted butter for about a minute to cook away its raw taste.
Whole milk (2 cups / 480 ml) and heavy cream (½ cup / 120 ml): Warm the milk before adding it to the roux to help the sauce come together smoothly. Cream adds richness, but the sauce should still be fluid enough to coat the pasta.
Freshly cracked black pepper (1 teaspoon, plus more to finish) and kosher salt (½ teaspoon, or to taste): Pepper is a defining flavor here. Use freshly cracked pepper for the best aroma. Salt carefully because both cheeses contribute saltiness.
Pecorino Romano (1 cup / 100 g) and Parmesan (1 cup / 100 g), finely grated and divided: These cheeses create the signature flavor. Finely grate them so they melt evenly. Three-quarters of each goes into the sauce; the remaining quarter is mixed into the topping.
Garlic powder (½ teaspoon, optional): This adds a gentle savory note but can be omitted for a more direct cacio e pepe flavor.
Panko breadcrumbs (½ cup / 50 g), olive oil or melted butter (1 tablespoon), and parsley (1 tablespoon, optional): Panko forms the crisp topping. Toss it with oil or melted butter and the reserved cheese. Parsley adds color when serving.
Equipment
Gather a large pot, colander, medium saucepan, whisk, box grater or microplane, 2-quart baking dish, small bowl, and measuring cups and spoons. A fine grater helps the cheese melt smoothly. Use a saucepan large enough to whisk the sauce without splashing, and a baking dish that gives the pasta a relatively even layer.
How to Make Creamy Cacio e Pepe Mac and Cheese
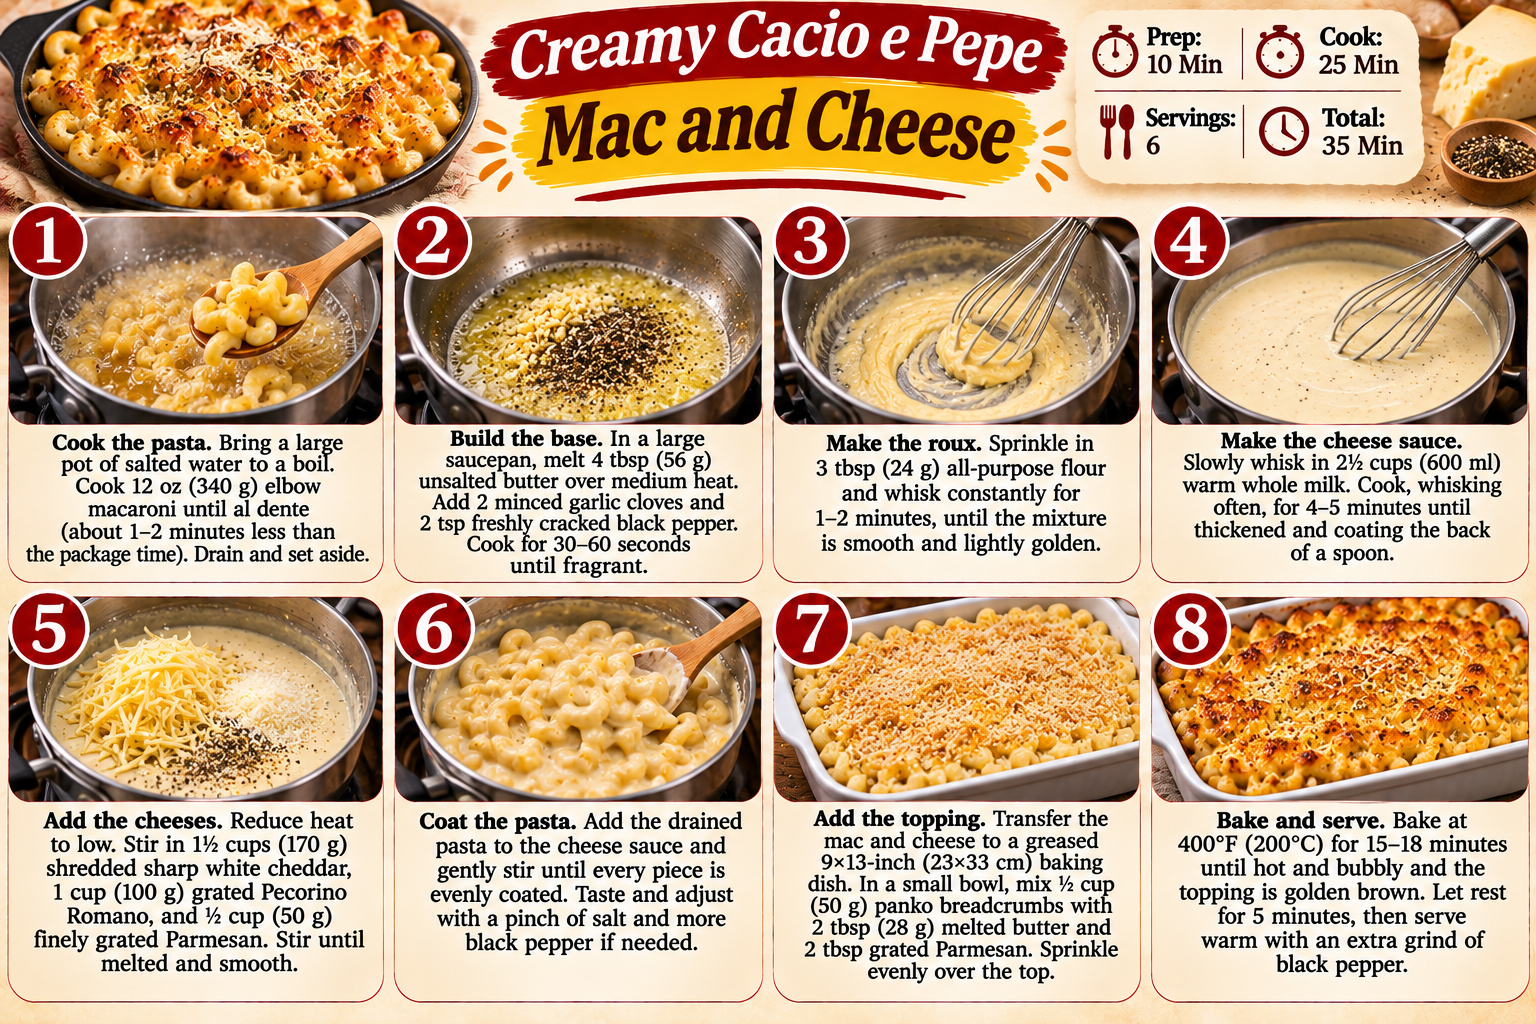
- Heat the oven and prepare the dish. Heat the oven to 375°F (190°C) and butter a 2-quart baking dish. Bring a large pot of salted water to a boil.
- Cook the pasta. Add 12 ounces macaroni or small shells and cook 1–2 minutes less than the package’s al dente time. Reserve ½ cup pasta water, then drain. Do not rinse; the starch on the pasta helps the sauce cling.
- Make the roux. While the pasta cooks, melt 3 tablespoons butter in a saucepan over medium heat. Add 2 tablespoons flour and whisk for 1 minute until smooth.
- Add milk and cream. Gradually whisk in 2 cups warm milk, then ½ cup heavy cream. Simmer gently for 3–5 minutes, whisking, until the sauce thickens enough to coat the back of a spoon.
- Melt in the cheese. Reduce the heat to low. Stir in 1 teaspoon black pepper, ½ teaspoon salt, garlic powder if using, ¾ cup Pecorino, and ¾ cup Parmesan a handful at a time. Stir until melted and smooth. Do not boil after adding the cheese. If the sauce is too thick, add reserved pasta water 1 tablespoon at a time.
- Combine pasta and sauce. Fold the drained pasta into the cheese sauce. Taste and adjust the pepper and salt, remembering that the topping adds more cheese. Transfer the mixture to the prepared baking dish.
- Prepare the topping. Mix ½ cup panko with 1 tablespoon olive oil or melted butter and the remaining ¼ cup Pecorino and ¼ cup Parmesan. Scatter the mixture evenly over the pasta.
- Bake until golden. Bake uncovered for 12–15 minutes, until bubbling around the edges and golden on top. For a deeper crust, broil for 1–2 minutes, watching closely.
- Rest and finish. Let the dish rest for 5 minutes. Finish with extra cracked black pepper and chopped parsley if desired. Serve hot.
Tips and Troubleshooting
Grate the cheese yourself. Finely grated cheese melts more evenly than many pre-shredded varieties, which can contain anti-caking ingredients. A microplane or the fine side of a box grater works well.
Keep the sauce gentle after adding cheese. The milk sauce can simmer before the cheese is added, but once the cheese goes in, keep the heat low and do not let it boil. Excessive heat can cause the proteins and fat to separate, leaving a grainy texture.
Undercook the pasta slightly. The noodles spend additional time in the oven. If they are fully cooked before baking, they can become too soft by the time the topping browns.
Save pasta water. Starchy pasta water is useful for loosening a thick sauce without making it taste watery. Add it gradually, one tablespoon at a time, until the sauce coats the pasta smoothly.
Season after the cheese is incorporated. Pecorino is naturally salty, and Parmesan adds more. Taste the sauce before adding extra salt rather than automatically increasing the measured amount.
Watch the broiler. Panko can move from golden to burnt quickly. If you use the broiler, stay nearby and remove the dish as soon as the top reaches the color you want.
Easy Variations
If Pecorino Romano is too sharp or salty for your taste, use more Parmesan; the flavor will be milder but still satisfying. Half-and-half can replace the heavy cream, or use 2½ cups milk total if you prefer to omit cream. For a gluten-free version, choose gluten-free pasta, a suitable gluten-free flour blend, and gluten-free panko. Follow the pasta package’s cooking time and still undercook it slightly before baking. You can omit garlic powder for a more traditional pepper-and-cheese profile or add a little extra black pepper at the table.
What to Serve With It
This mac and cheese is rich, so it pairs well with a crisp green salad, roasted broccoli, green beans, or lemony sautéed greens. It can be served alongside roast chicken, grilled vegetables, or baked fish. For a casual meal, add a simple tomato salad or steamed vegetables to bring freshness and color to the plate. If it is part of a larger holiday menu, serve smaller portions with lighter vegetable sides.
Make-Ahead, Storage, and Reheating
You can assemble the pasta and sauce in the baking dish up to one day ahead, cover, and refrigerate. Keep the panko topping separate if you want it at its crispest, then add it just before baking. Bake from chilled and allow an extra 5–10 minutes as needed, checking that the center is hot and bubbling.
Refrigerate leftovers in an airtight container for up to three days. The sauce thickens as it chills, so add 1–2 tablespoons milk per serving before reheating. Warm covered in a 325°F (165°C) oven until hot, or microwave in short bursts, stirring halfway through. Freezing is possible for up to one month, though the sauce may change texture slightly after thawing.
Frequently Asked Questions
Why did my cheese sauce turn grainy?
The sauce may have been too hot when the cheese was added, or the cheese may not have been finely grated. Lower the heat and stir in finely grated cheese gradually. Avoid boiling the sauce after the cheese melts.
Can I make this mac and cheese ahead?
Yes. Assemble it up to one day ahead, cover, and refrigerate. Add the topping before baking and allow about 5–10 extra minutes because the dish starts cold.
What cheese is best for cacio e pepe mac and cheese?
Pecorino Romano provides a salty, tangy flavor, while Parmesan adds nutty depth. Using both creates a balanced sauce. All Parmesan works if you prefer a milder result.
A Creamy, Peppery Take on Baked Mac and Cheese
This cacio e pepe mac and cheese keeps the spirit of the Italian classic in a comforting baked format. Finely grated cheese, low heat, and a little reserved pasta water help create a smooth sauce, while the panko topping gives the dish a crisp finish. Serve it hot with a fresh vegetable side, and keep the pepper prominent so every bite has the flavor that makes cacio e pepe distinctive.
Ready to make something?
Turn inspiration into dinner.
Browse our tested recipes for practical step-by-step ideas, weeknight favorites and something delicious to try next.
Find your next recipe →Helpful Tools for This Recipe
Disclosure: Affiliate disclosure: This post contains affiliate links. As an Amazon Associate I earn from qualifying purchases at no extra cost to you.
 (paid link)
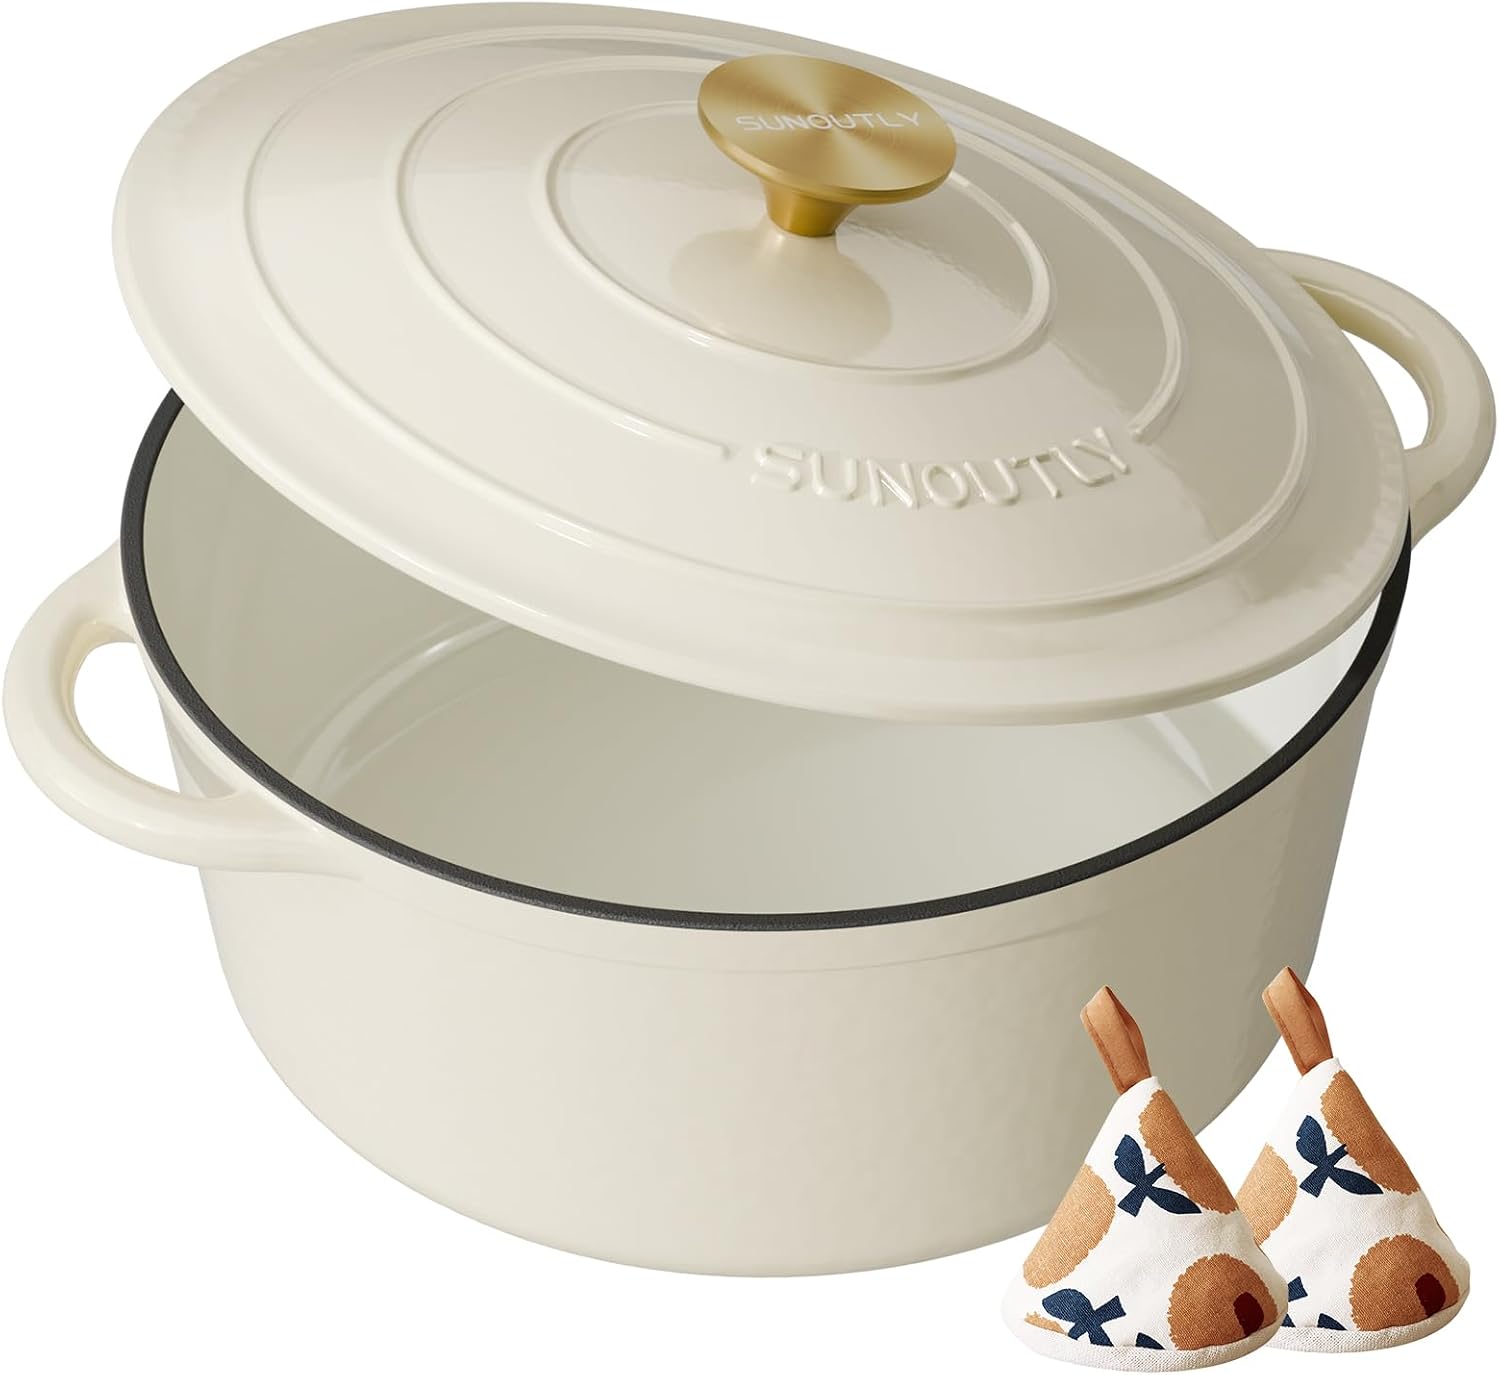
Enameled Cast Iron Dutch Oven (6-Quart)
Essential for simmering hearty soups, braising meats, and deep-browning chili without hot spots.
 (paid link)
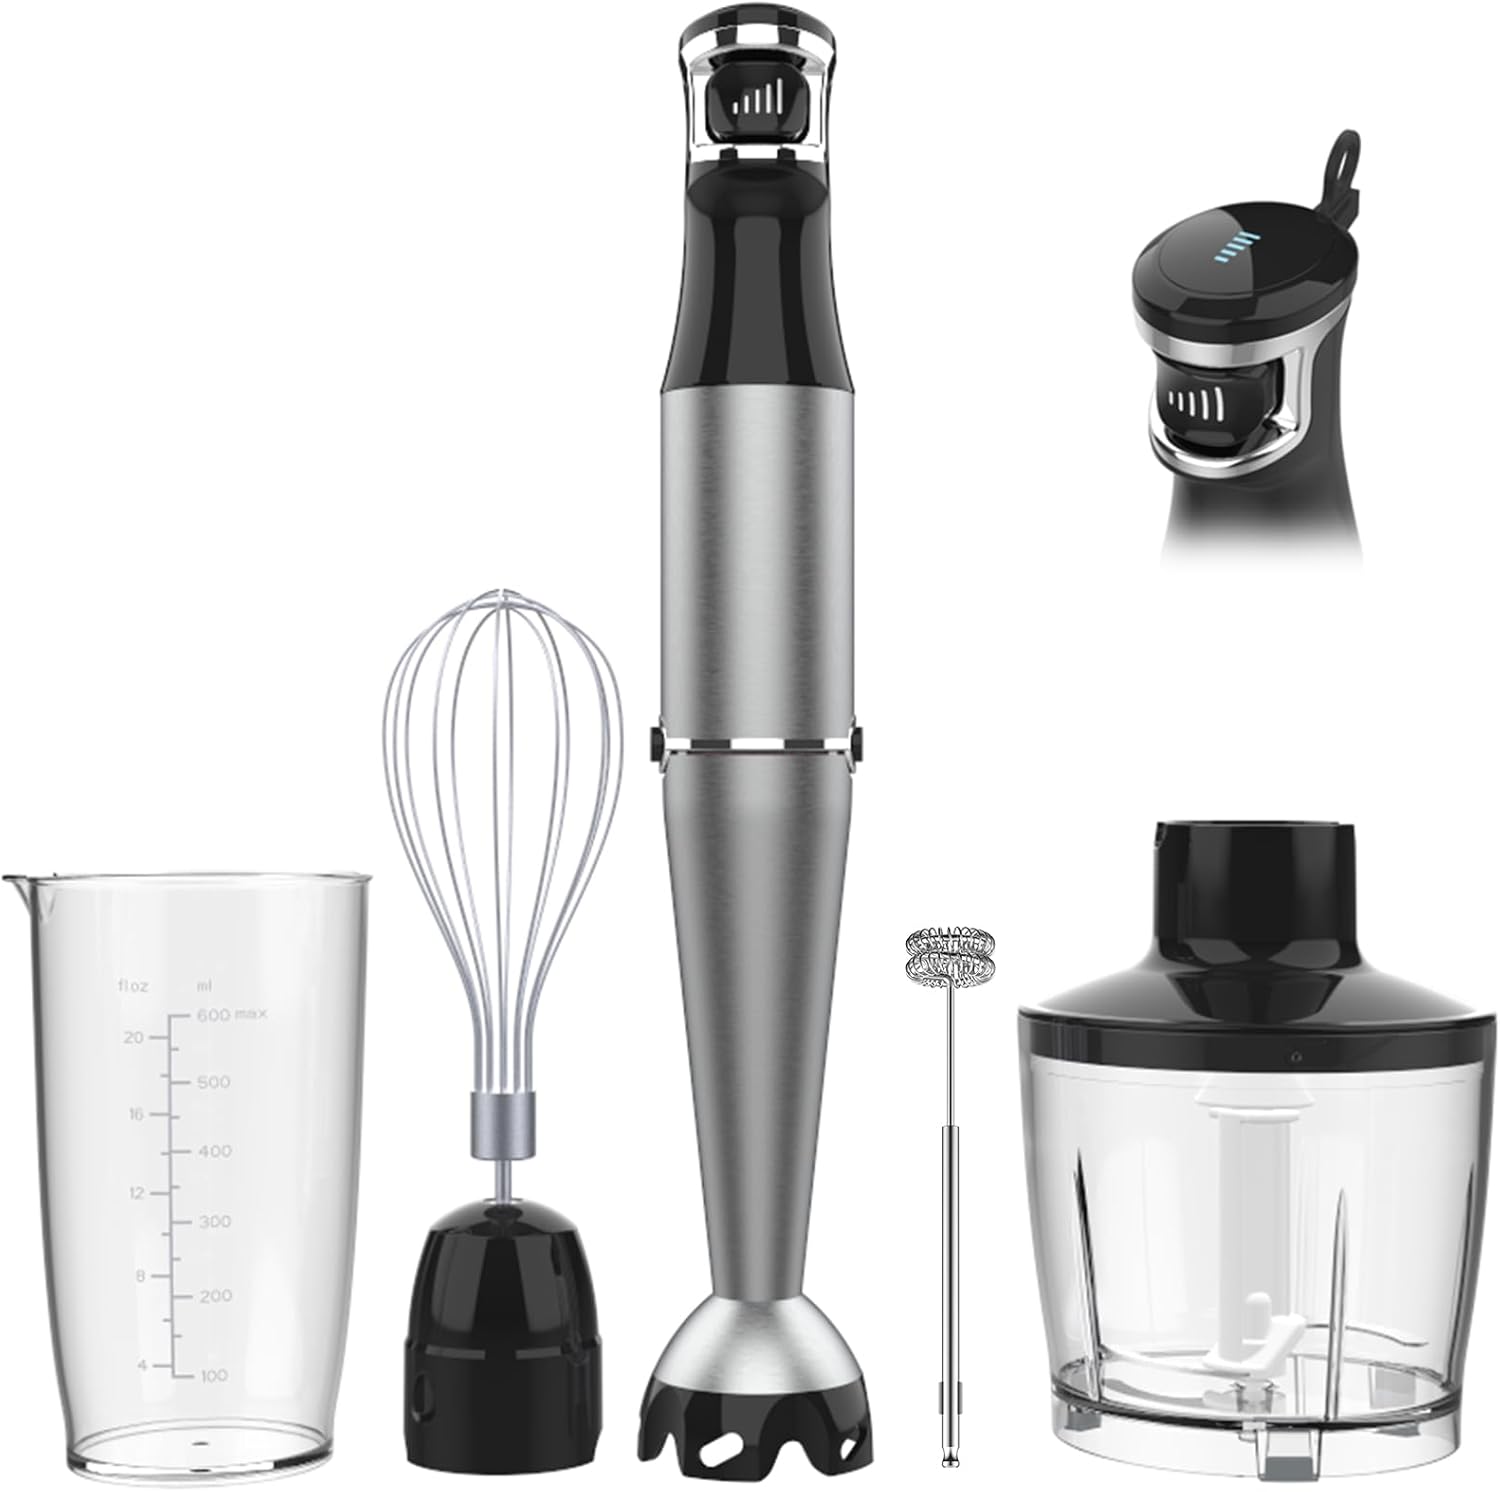
Variable-Speed Hand Immersion Blender
Purées hot soups and sauces smoothly right in the cooking pot without risky blender transfers.
 (paid link)
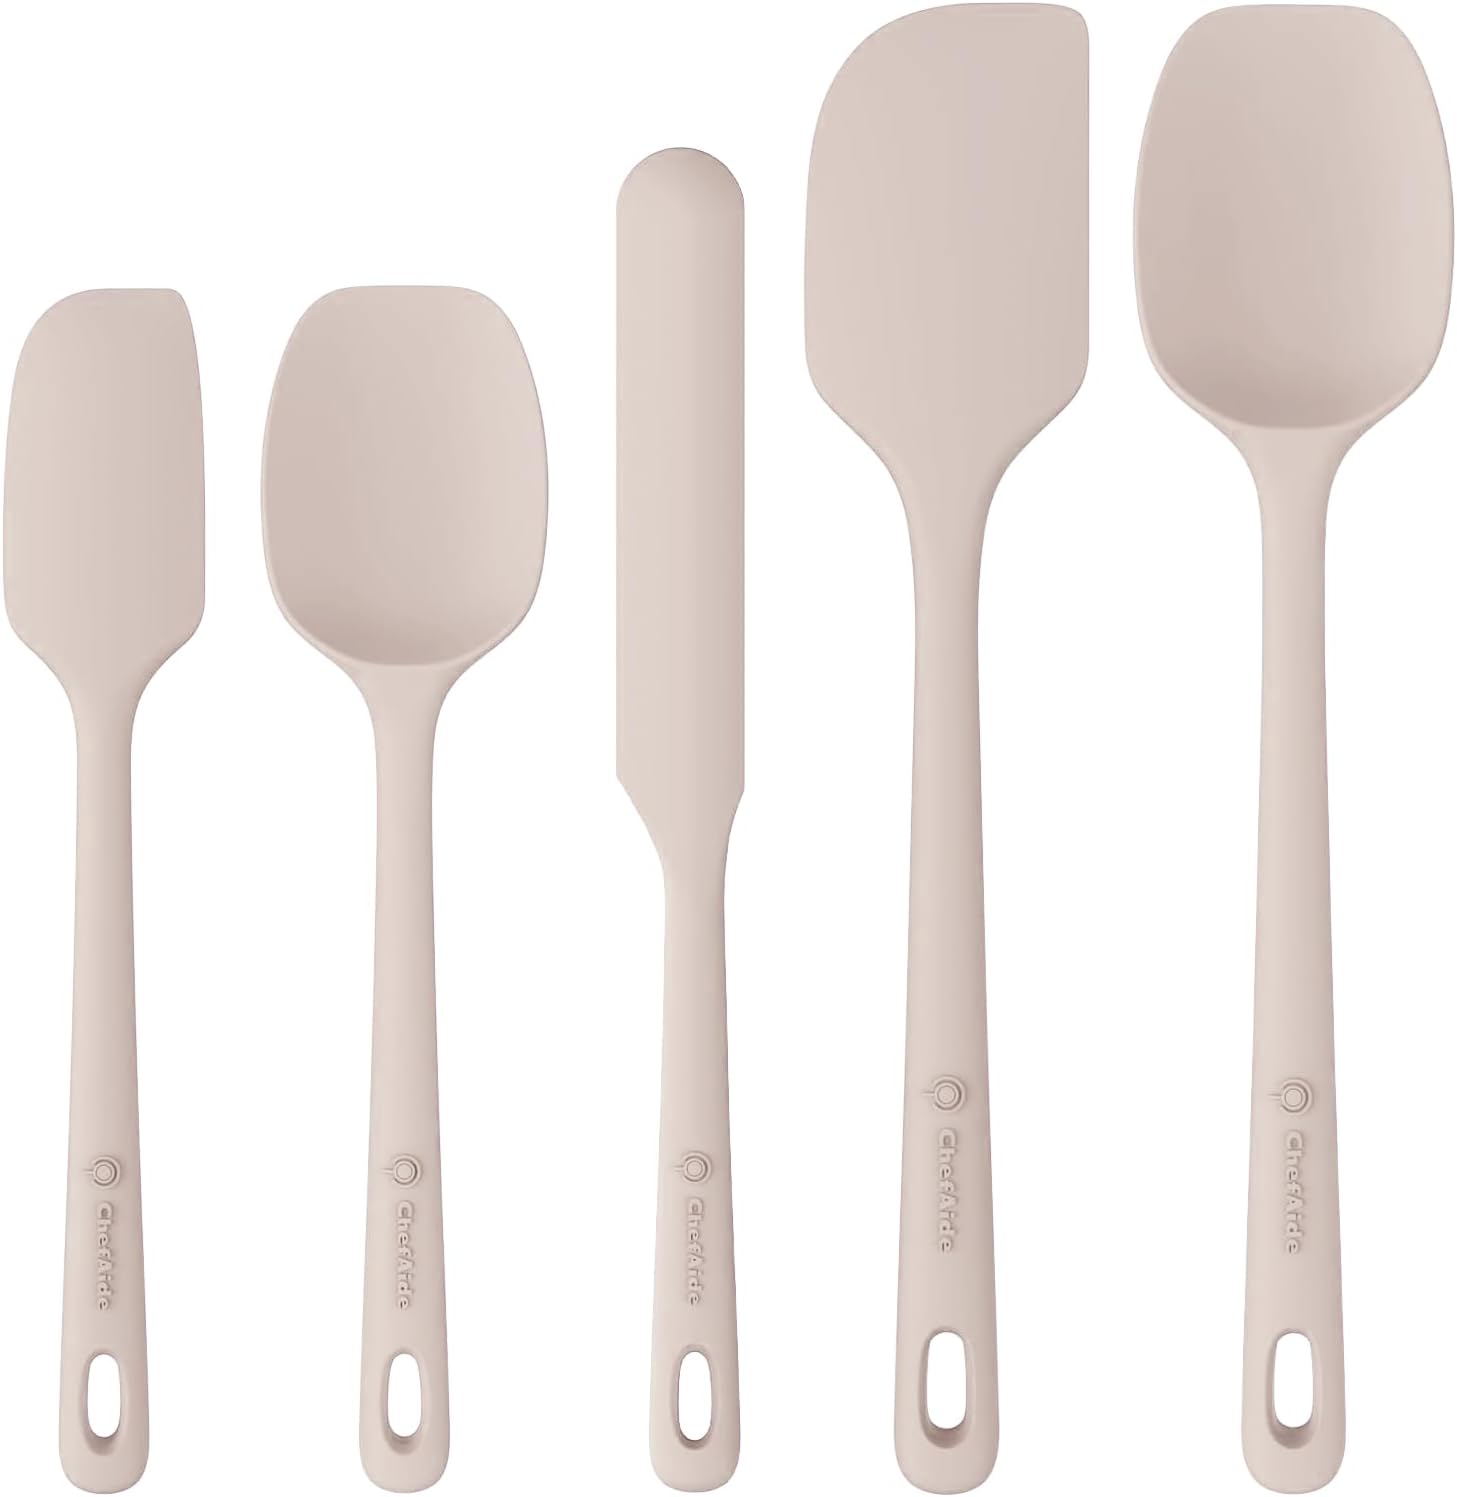
Heat-Resistant Seamless Silicone Spatula Set
Withstands up to 450°F and scrapes nonstick pans cleanly without scratching protective coatings.