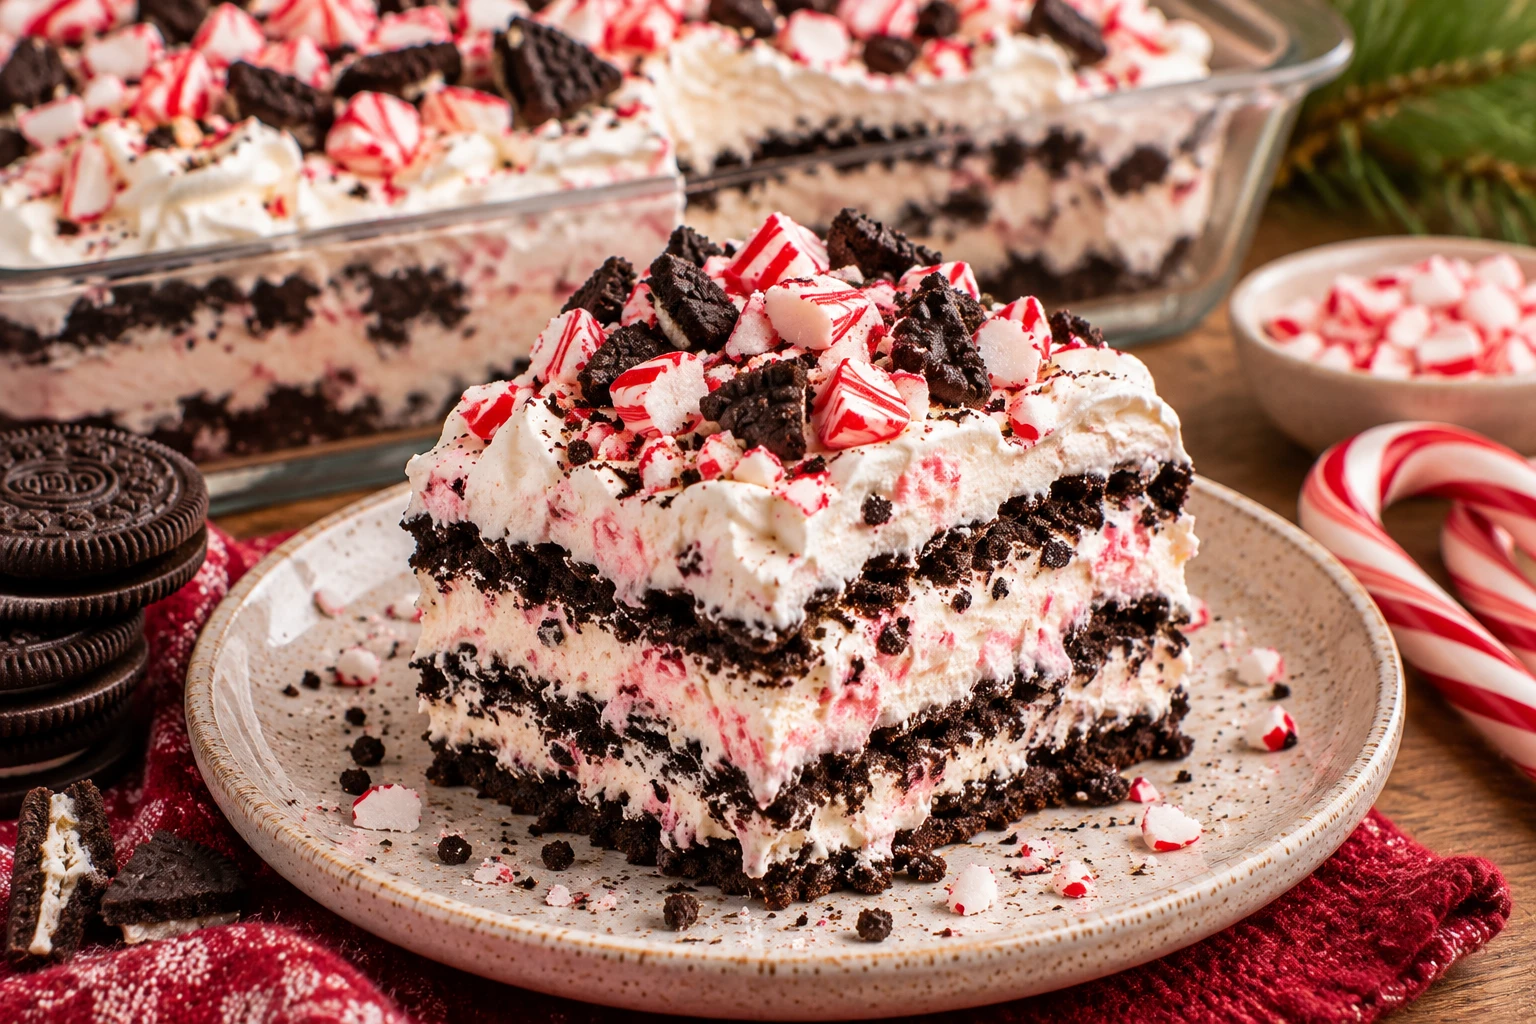
No-Bake Peppermint Oreo Icebox Cake

Chocolate sandwich cookies soften into cake-like layers between peppermint whipped cream in this easy make-ahead holiday dessert.
No-Bake Peppermint Oreo Icebox Cake
No-Bake Peppermint Oreo Icebox Cake layers chocolate sandwich cookies with a fluffy peppermint cream filling for a chilled dessert that feels festive without turning on the oven. Cream cheese gives the filling a little structure and tang, while whipped heavy cream keeps it light. Crushed peppermint candies add a cool seasonal flavor and a bit of crunch. After several hours in the refrigerator, the cookies soften into tender, cake-like layers that slice neatly into squares.
Prep time: 25 minutes | Cook time: 0 minutes | Total time: about 6 hours 25 minutes including chilling | Servings: 12 | Difficulty: Easy
Introduction
An icebox cake is built by layering cookies or wafers with a creamy filling and letting the refrigerator do the work. Moisture from the filling gradually softens the cookies, creating a sliceable dessert without baking. This version uses chocolate sandwich cookies and a peppermint cream cheese whipped-cream mixture, so it has the flavor of a holiday chocolate-mint treat with very little hands-on preparation.
The texture depends on two details: whip the cream to medium-stiff peaks so it can support the layers, and give the assembled cake enough time to chill. Six hours is the minimum; overnight is even better. The optional milk dip softens the cookies more quickly, but keep it brief so they do not fall apart before layering.
Why You'll Enjoy This Recipe
- No oven required: The cake sets in the refrigerator, leaving the oven free for holiday cooking.
- Make-ahead dessert: It needs several hours to chill, so it is convenient to prepare the day before serving.
- Classic flavor pairing: Chocolate cookies, vanilla cream, and peppermint make a familiar festive combination.
- Easy to portion: An 8-inch square dish creates 12 dessert servings.
- Simple decoration: Cookie crumbs and crushed peppermint give the top a finished look without complicated piping.
Ingredients You'll Need
Use cold heavy whipping cream so it whips efficiently, but let the cream cheese soften so it blends smoothly. Peppermint extract varies in strength; begin with the listed amount and add only a few drops more after tasting. Candy canes can be crushed in a sealed bag with a rolling pin.
- 2 cups cold heavy whipping cream
- 8 oz full-fat cream cheese, softened
- ¾ cup powdered sugar
- ½ tsp vanilla extract
- ¼ tsp peppermint extract, plus a few drops to taste
- 24–28 chocolate sandwich cookies, plus 3 for garnish
- ⅓ cup crushed peppermint candies or candy canes
- ½ cup cold milk, optional for briefly dipping cookies
Equipment
Use an 8-inch square or 2-quart baking dish, hand or stand mixer, chilled mixing bowl, spatula, measuring cups and spoons, and a knife for serving. Chilling the bowl and beaters for about 10 minutes helps the cream whip. A small offset spatula makes it easier to spread the filling into even layers.
How to Make No-Bake Peppermint Oreo Icebox Cake
- Chill the mixing equipment. Place a large mixing bowl and the mixer beaters in the refrigerator or freezer for about 10 minutes. Keep the heavy cream cold and set the cream cheese out until softened.
- Make the cream cheese base. Beat the softened cream cheese with the powdered sugar and vanilla until smooth, scraping the sides of the bowl. Mix in ¼ teaspoon peppermint extract. Taste a small amount and add more only a drop at a time if you want a stronger mint flavor.
- Whip the cream. Pour the cold heavy cream into the chilled bowl. Beat until medium-stiff peaks form: when you lift the beaters, the peak should hold its shape but the cream should still look smooth, not grainy.
- Fold the mixtures together. Fold about one-third of the whipped cream into the cream cheese mixture to lighten it. Gently fold in the remaining whipped cream in two additions. Use broad strokes and stop when no large streaks remain so the filling stays airy.
- Start the layers. Spread a thin layer of cream over the bottom of the 8-inch square dish. Arrange a single layer of chocolate sandwich cookies over it, breaking a few to fill gaps. If you want a softer cake sooner, dip each cookie in cold milk for about 1 second before placing it in the dish. Do not soak the cookies.
- Add filling and peppermint. Spread about one-quarter of the remaining cream over the cookie layer and sprinkle with some crushed peppermint. Repeat the cookie, cream, and peppermint layers, finishing with a smooth layer of cream on top. Use the remaining crushed peppermint as needed, saving a little garnish for serving.
- Chill until set. Cover the dish and refrigerate for at least 6 hours, preferably overnight. The cookies should soften and the cream layers should become firm enough to cut.
- Garnish and serve. Just before serving, crush the 3 reserved cookies and sprinkle them over the top with the remaining peppermint. Cut into squares with a sharp knife and serve cold.
Tips and Troubleshooting
Do not overwhip the cream. Stop at medium-stiff peaks. If the cream becomes grainy or begins to separate, it has been beaten too far and will be difficult to fold smoothly into the cream cheese. Keep the mixer at medium speed as it thickens and watch closely near the end.
Soften cream cheese fully. Cold cream cheese can leave small lumps in the filling. Let it soften at room temperature until it yields when pressed, then beat it smooth before adding the whipped cream. Avoid warming it until oily or melted.
Use peppermint carefully. Peppermint extract can quickly dominate the dessert. Start with ¼ teaspoon and taste before adding more. Crushed candy canes also add mint flavor, so the filling does not need to be intensely minty.
Do not soak the cookies. A very quick dip in milk is optional. A long soak makes the cookies fragile and can add too much moisture to the layers. If chilling overnight, you can skip dipping entirely because the cream softens the cookies gradually.
Give it enough time. If the cake is difficult to cut, it may need more chilling. Overnight chilling gives the cookies time to soften evenly and the cream time to firm. Wipe the knife between cuts for cleaner squares.
Easy Variations
- Gluten-free: Use gluten-free chocolate sandwich cookies and check that the peppermint candies and other packaged ingredients are certified suitable for your needs.
- Extra chocolate: Add a light dusting of chocolate cookie crumbs between layers or over the top.
- Chocolate peppermint candies: Crushed chocolate peppermint candies can replace the candy canes for a deeper chocolate-mint finish.
- Less minty: Use the listed ¼ teaspoon peppermint extract without adding more, and reduce the candy garnish to taste.
- Individual cups: Layer broken cookies and cream in small glasses. Chill until the cookies soften; the setting time may be shorter than for a full dish.
What to Serve With It
This chilled cake is rich, so small squares are satisfying after a holiday meal. Serve it with coffee, espresso, hot chocolate, or black tea. Fresh raspberries or strawberries offer a bright contrast to the chocolate and peppermint. If it is part of a dessert buffet, pair it with fruit or a lighter citrus dessert rather than several other heavy cream-based sweets.
Make-Ahead, Storage, and Reheating
This is an ideal make-ahead dessert. Assemble it the night before, cover the dish tightly, and refrigerate overnight. For the best appearance, wait until just before serving to add the reserved cookie crumbs and candy garnish. The crushed peppermint can soften when it sits on the cream for many hours.
Keep the cake covered and refrigerated for up to 3 days. Serve cold; reheating is not needed. For longer storage, freeze the covered cake for up to 1 month. Thaw it overnight in the refrigerator and add fresh garnish after thawing. The texture will be firm when frozen, so allow enough refrigerator time for it to become creamy again before serving.
Frequently Asked Questions
Does an icebox cake need to bake?
No. The refrigerator softens the cookies as they absorb moisture from the cream filling. That is what creates the cake-like layers.
Can I make it the same day?
Yes, if you allow at least 6 hours of chilling. Overnight is more reliable, especially if you do not dip the cookies in milk.
Can I use whipped topping instead of heavy cream?
The approved recipe uses heavy cream whipped to medium-stiff peaks. A prepared whipped topping changes the sweetness and structure, so the results may differ.
Why is my filling runny?
The cream may not have been whipped enough, the cream cheese may have been too warm, or the cake may not have chilled long enough. Chill thoroughly before cutting.
An Easy No-Bake Holiday Dessert
No-Bake Peppermint Oreo Icebox Cake is a low-effort dessert that rewards a little patience. Make a smooth cream cheese base, fold in properly whipped cream, layer it with chocolate cookies, and let the refrigerator do the setting. Finish with cookie crumbs and crushed peppermint just before serving for a chilled holiday dessert that is easy to portion and share.
Ready to make something?
Turn inspiration into dinner.
Browse our tested recipes for practical step-by-step ideas, weeknight favorites and something delicious to try next.
Find your next recipe →Helpful Tools for This Recipe
Disclosure: Affiliate disclosure: This post contains affiliate links. As an Amazon Associate I earn from qualifying purchases at no extra cost to you.
 (paid link)
Pre-Seasoned Cast Iron Skillet (10.25-inch)
Provides exceptional heat retention and unbeatable browning for chicken, steaks, and skillet pastas.
 (paid link)
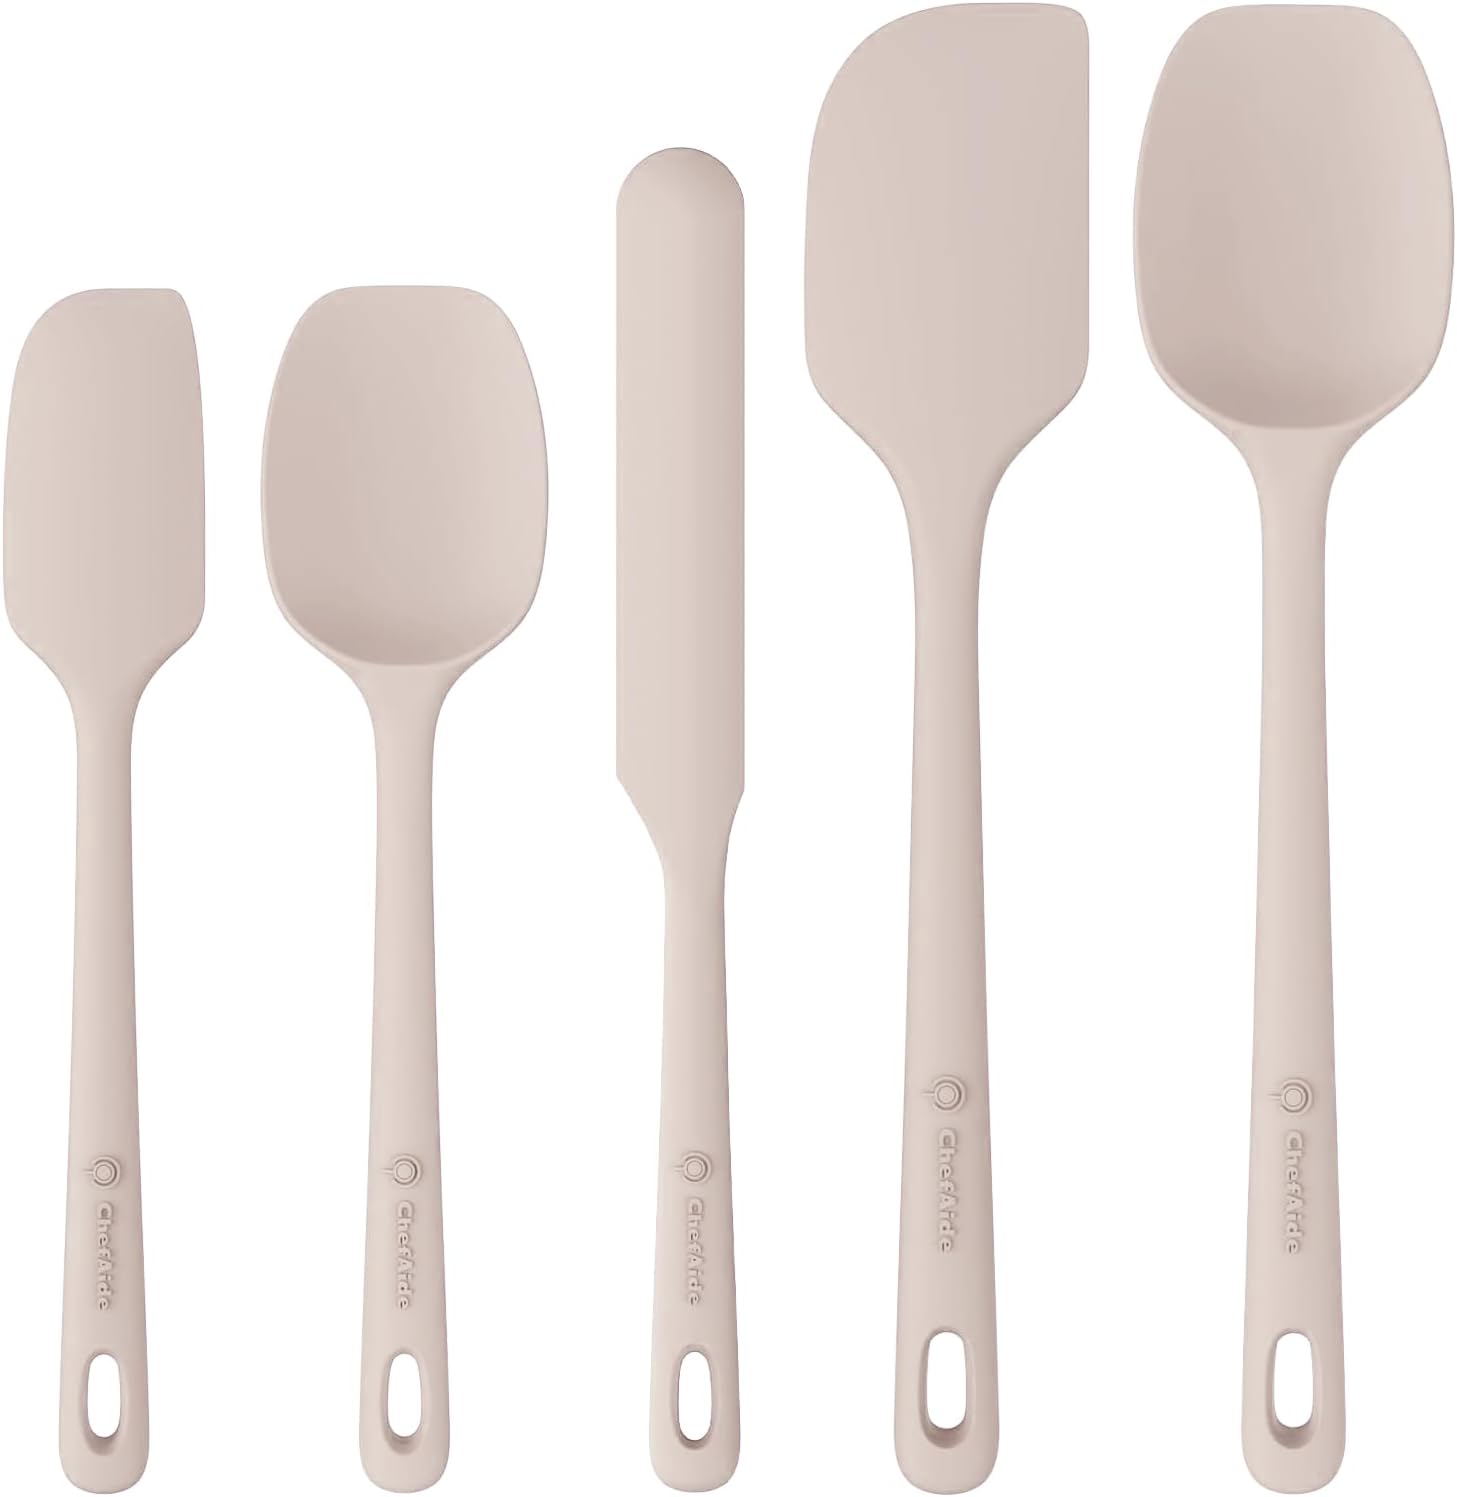
Heat-Resistant Seamless Silicone Spatula Set
Withstands up to 450°F and scrapes nonstick pans cleanly without scratching protective coatings.
 (paid link)
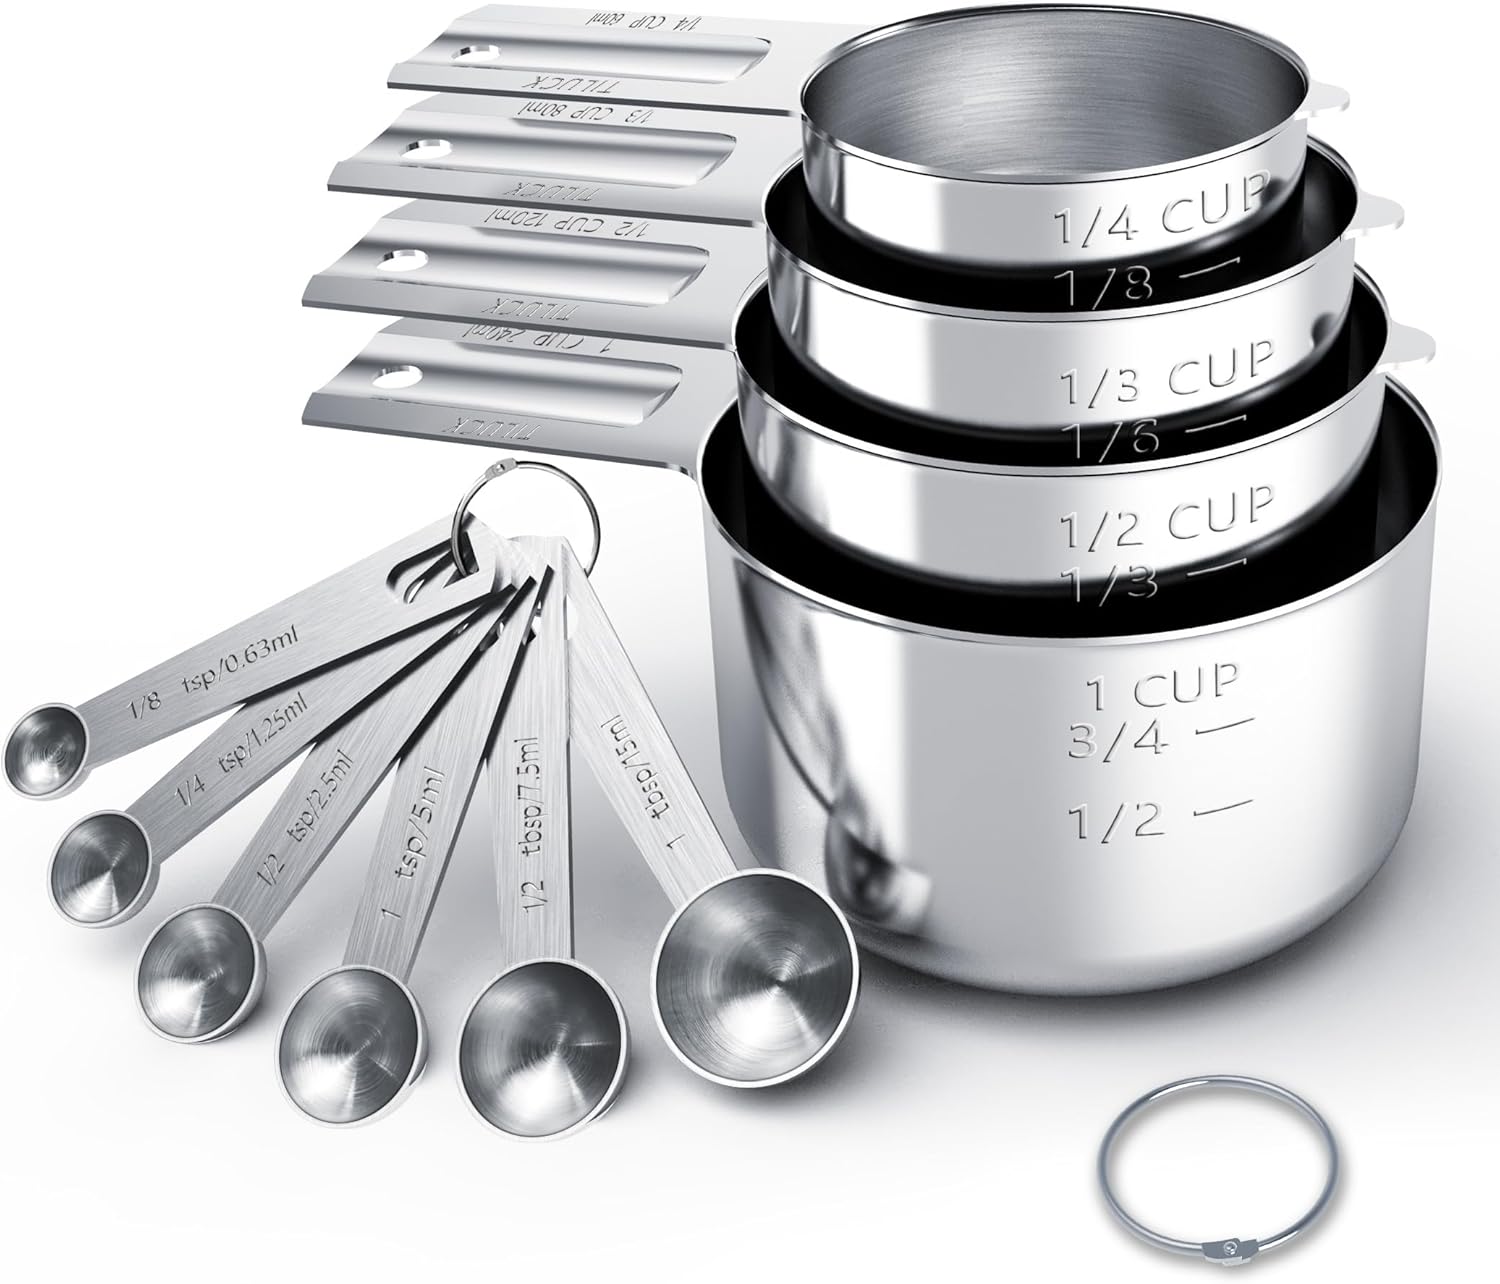
Heavy-Gauge Stainless Steel Measuring Cups & Spoons
Etched measurement markings never fade through dishwashing, ensuring precise seasoning balance.