White Chocolate Cranberry Pistachio Bark

Creamy white chocolate sets with tart dried cranberries and crunchy pistachios in this easy no-bake treat.
White Chocolate Cranberry Pistachio Bark
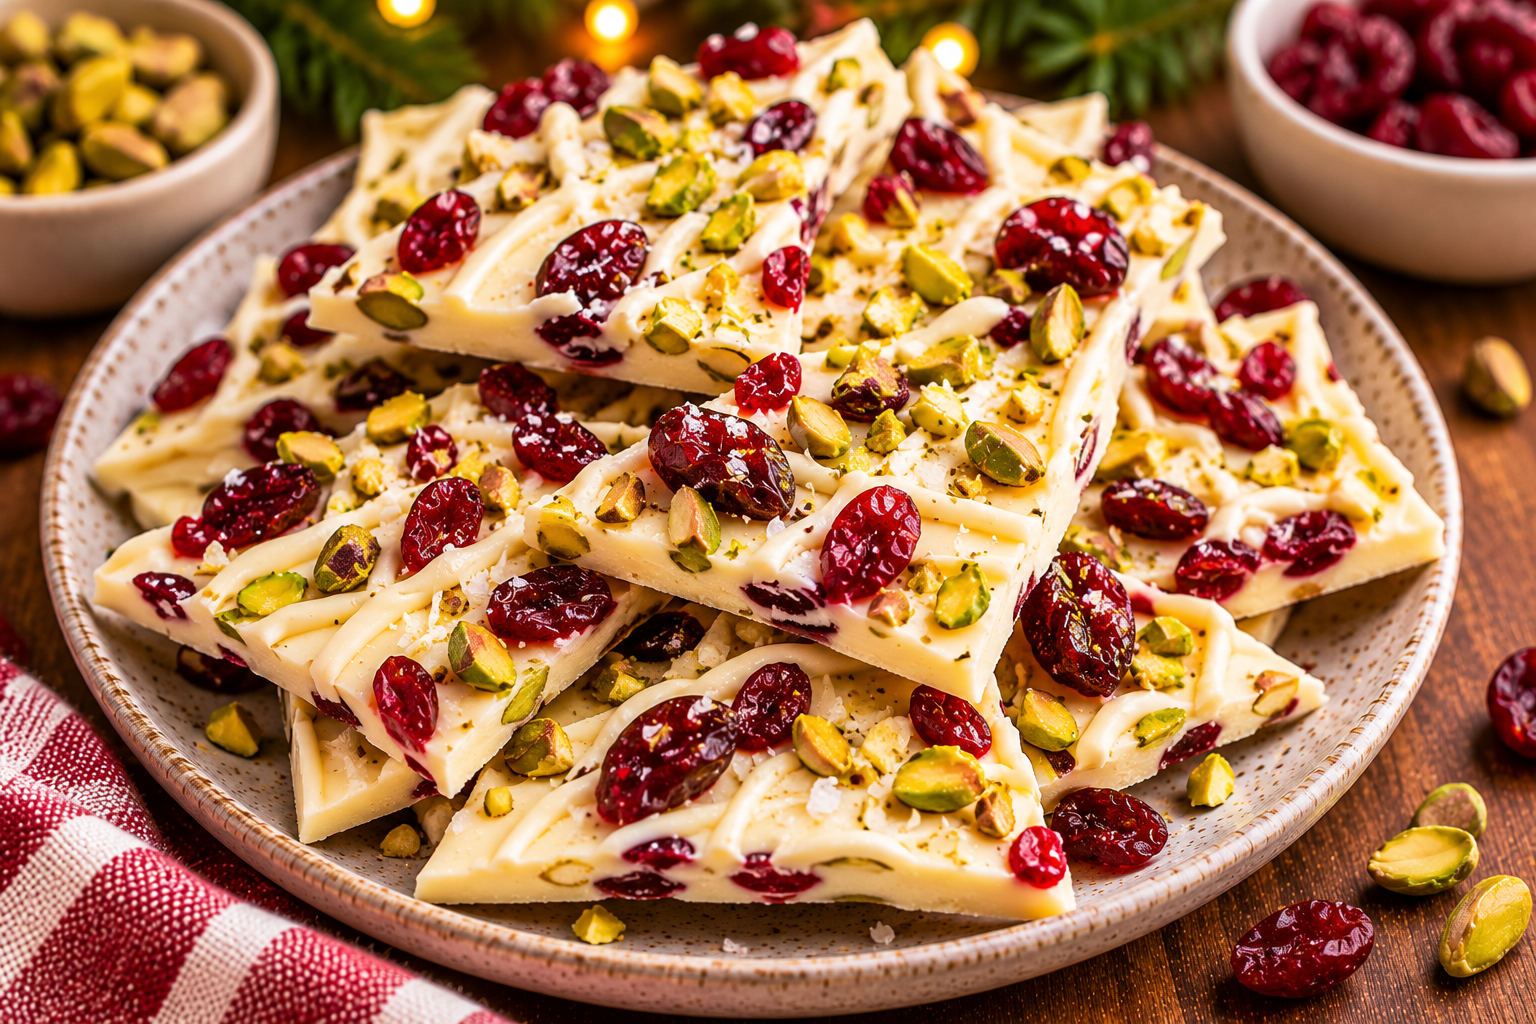
This no-bake bark has festive color and texture. Creamy white chocolate forms the base, tart dried cranberries add chew, and chopped pistachios bring crunch. Orange zest brightens the flavor, while flaky salt can balance sweetness.
Bark needs no special mold. Melt chocolate gently, spread on parchment, scatter toppings, and chill until firm. Break into irregular pieces for a dessert platter, homemade gift, or sweet bite with coffee.
Recipe at a glance
- Prep time: 15 minutes
- Cook time: 5 minutes
- Total time: 20 minutes
- Yield: 16 servings
- Difficulty: Easy
Ingredients
- 16 ounces good-quality white chocolate, finely chopped or couverture wafers
- 1/2 cup dried cranberries, roughly chopped
- 1/3 cup shelled pistachios, roughly chopped
- 1 teaspoon finely grated orange zest (optional)
- Pinch of flaky salt (optional)
How to make it
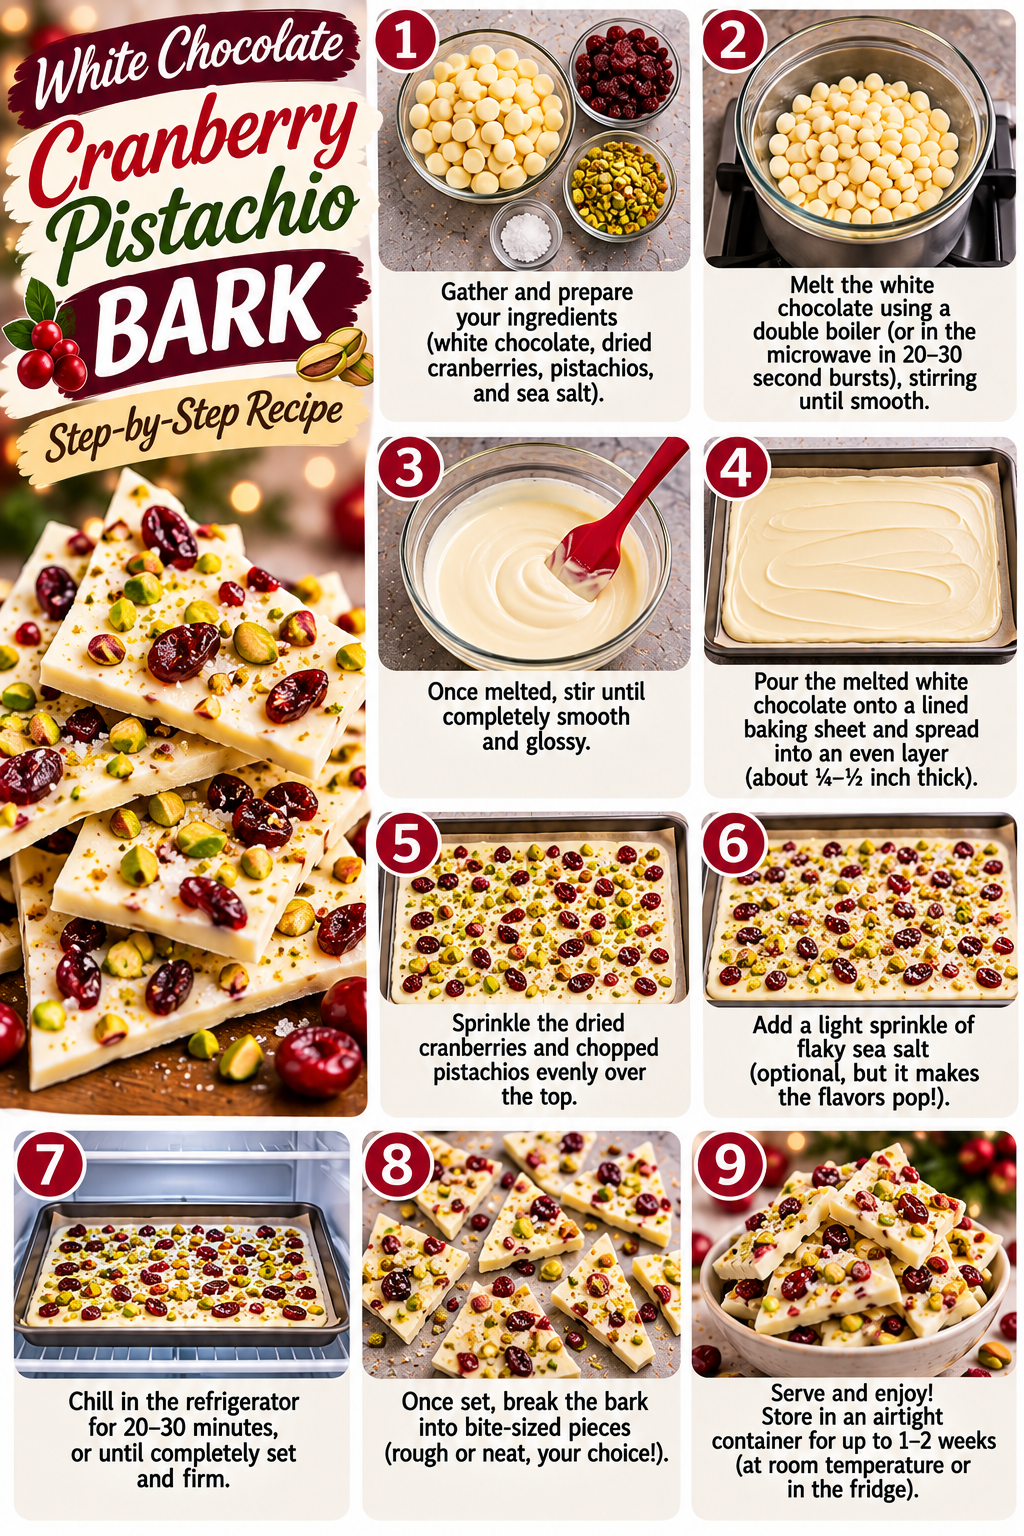
- Line a rimmed quarter-sheet pan or similar tray with parchment paper. Make sure the tray fits in your refrigerator and is completely dry.
- Reserve a small handful of cranberries and pistachios for the top. Chop the remaining toppings into bite-sized pieces so the bark breaks more evenly.
- Melt the white chocolate gently in a dry heatproof bowl over barely simmering water, or in the microwave in 20-second bursts, stirring thoroughly between bursts. Stop when a few small pieces remain and stir until smooth.
- Fold most of the cranberries and pistachios into the melted chocolate, if desired, or spread the chocolate first and scatter the toppings over it. Spread into an even layer about 1/4 inch thick.
- Scatter the reserved cranberries and pistachios over the surface and press gently so they adhere. Add orange zest or a tiny pinch of flaky salt if using.
- Refrigerate until firm, about 30 to 45 minutes depending on thickness. Lift the bark from the parchment and break into irregular pieces with your hands or a knife.
- Store in an airtight container in a cool place. In warm rooms, keep it refrigerated and let it sit briefly before serving to reduce condensation.
Tips for the best results
Keep bowl, spatula, and tray completely dry; water can make white chocolate seize. Melt slowly and stir often. Use good-quality white chocolate made with cocoa butter for a smoother melt. Press toppings lightly into the surface.
Make-ahead and storage
Store airtight in a cool, dry place. In warm rooms, refrigerate and let bark sit briefly before serving. Avoid temperature changes that cause condensation. If gifting, check for nut allergies and label pistachios.
Frequently asked questions
Can I use white chocolate chips?
Some chips contain stabilizers and may not melt smoothly. White chocolate bars or couverture wafers generally give a more fluid result.
Do I need to temper the chocolate?
Not for a simple refrigerated bark, but tempering helps it set with a glossy finish and better snap at room temperature.
Can I replace pistachios?
Yes. Use pumpkin seeds or another suitable nut-free topping. If gifting, label allergens clearly and prevent cross-contact.
How long does chocolate bark keep?
Store it airtight in a cool, dry place for the period recommended by the chocolate and topping manufacturers. Refrigerate in warm climates and protect it from moisture.
Cooking times are estimates and can vary with equipment, ingredient brands, and portion size. Follow visual doneness cues and safe food-handling guidance.
Choosing chocolate and preparing toppings
White chocolate is the main ingredient, so choose a product you enjoy eating. A bar or couverture wafers made with cocoa butter usually melt more smoothly than some baking chips, which may contain stabilizers. Finely chop a bar so it melts evenly. Keep all equipment completely dry; even a little water or steam can make melted chocolate seize. Dried cranberries provide tartness, while pistachios add color and buttery crunch. Chop larger berries so they distribute through the bark.
Melting and spreading without overheating
Use gentle heat. In the microwave, heat chocolate in short bursts and stir thoroughly between each one. Stop when a few small pieces remain and let residual heat finish melting them. For a double boiler, keep the water at a bare simmer and make sure the bowl does not touch the water. Do not let steam enter the chocolate. Spread the melted chocolate into an even layer on parchment, then scatter toppings while the surface is fluid and press gently so they adhere.
Setting, breaking, and gifting
Chill until firm throughout; the time depends on thickness and refrigerator temperature. Lift the parchment from the tray and break the sheet into irregular pieces by hand, or use a large knife for controlled shards. If the bark is very cold and snaps into tiny fragments, let it stand briefly before breaking. For a gift box, choose similar-sized pieces and layer them between parchment. Keep the package away from warm windows, ovens, and direct sunlight.
Flavor variations and storage
Toasted almonds, pumpkin seeds, or dried cherries can replace some toppings. Orange zest adds a fresh aroma, while a small pinch of flaky salt balances sweetness. Avoid fresh fruit because its moisture can affect the chocolate. Store bark airtight in a cool, dry place. In a warm kitchen, refrigeration may be necessary. Protect chilled bark from moisture and let the sealed container sit briefly before opening so condensation forms outside rather than on the chocolate. Clearly identify pistachios when gifting.
How to get clean pieces and a neat finish
Spread the chocolate evenly rather than making the center much thicker than the edges. A consistent layer sets at a similar rate and breaks into pieces that are easier to package. Reserve a little of each topping for the surface so the finished bark has a colorful, even appearance. Press larger pistachio pieces lightly into the chocolate; do not push them all the way through. If the chocolate begins to firm before the toppings are added, work quickly and avoid trying to remelt it directly on the parchment.
Planning ahead and serving
Bark is a convenient make-ahead sweet because it can be prepared several days before a gathering and stored in a cool place. Break it into pieces only after it has fully set. For a dessert platter, mix larger shards with smaller pieces so guests can choose a portion. It pairs well with plain cookies, fresh citrus, or dark chocolate treats. Because white chocolate is sweet, a few pieces per person are usually enough alongside other desserts.
For gifting, use a food-safe container and separate layers with parchment. Keep the package away from heat during transport. If the weather is warm, carry it in an insulated bag and refrigerate it on arrival. Let the sealed container adjust briefly before opening to limit condensation on the surface. Clearly label pistachios and any other allergens, and avoid gifting homemade bark to someone whose allergy requirements you cannot verify.
Making a batch that breaks cleanly
Before chilling, check that toppings are spread from edge to edge and gently press down any pieces that are sitting loose. Let the sheet become fully firm before lifting it from the parchment. If you want smaller snack-size pieces, score the chocolate lightly with a knife once it is partly set, then chill until firm and break along those lines. Work quickly if the room is warm, since white chocolate softens more readily than dark chocolate. Keep the finished pieces in a sealed container between layers of parchment.
Ready to make something?
Turn inspiration into dinner.
Browse our tested recipes for practical step-by-step ideas, weeknight favorites and something delicious to try next.
Find your next recipe →Helpful Tools for This Recipe
Disclosure: Affiliate disclosure: This post contains affiliate links. As an Amazon Associate I earn from qualifying purchases at no extra cost to you.
 (paid link)
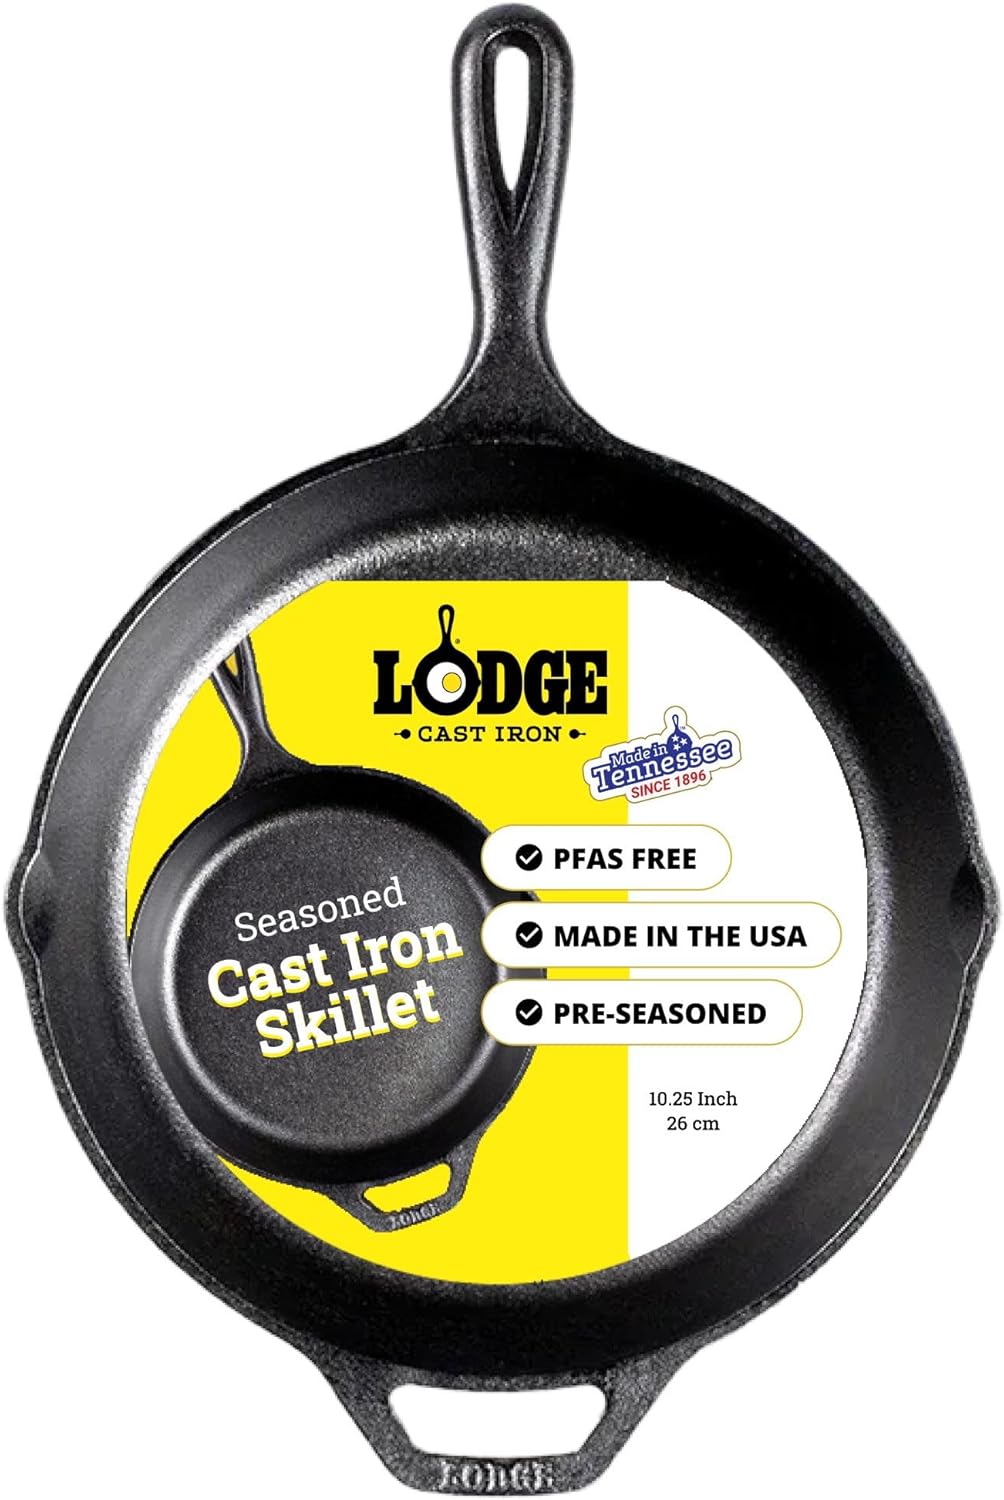
Pre-Seasoned Cast Iron Skillet (10.25-inch)
Provides exceptional heat retention and unbeatable browning for chicken, steaks, and skillet pastas.
 (paid link)
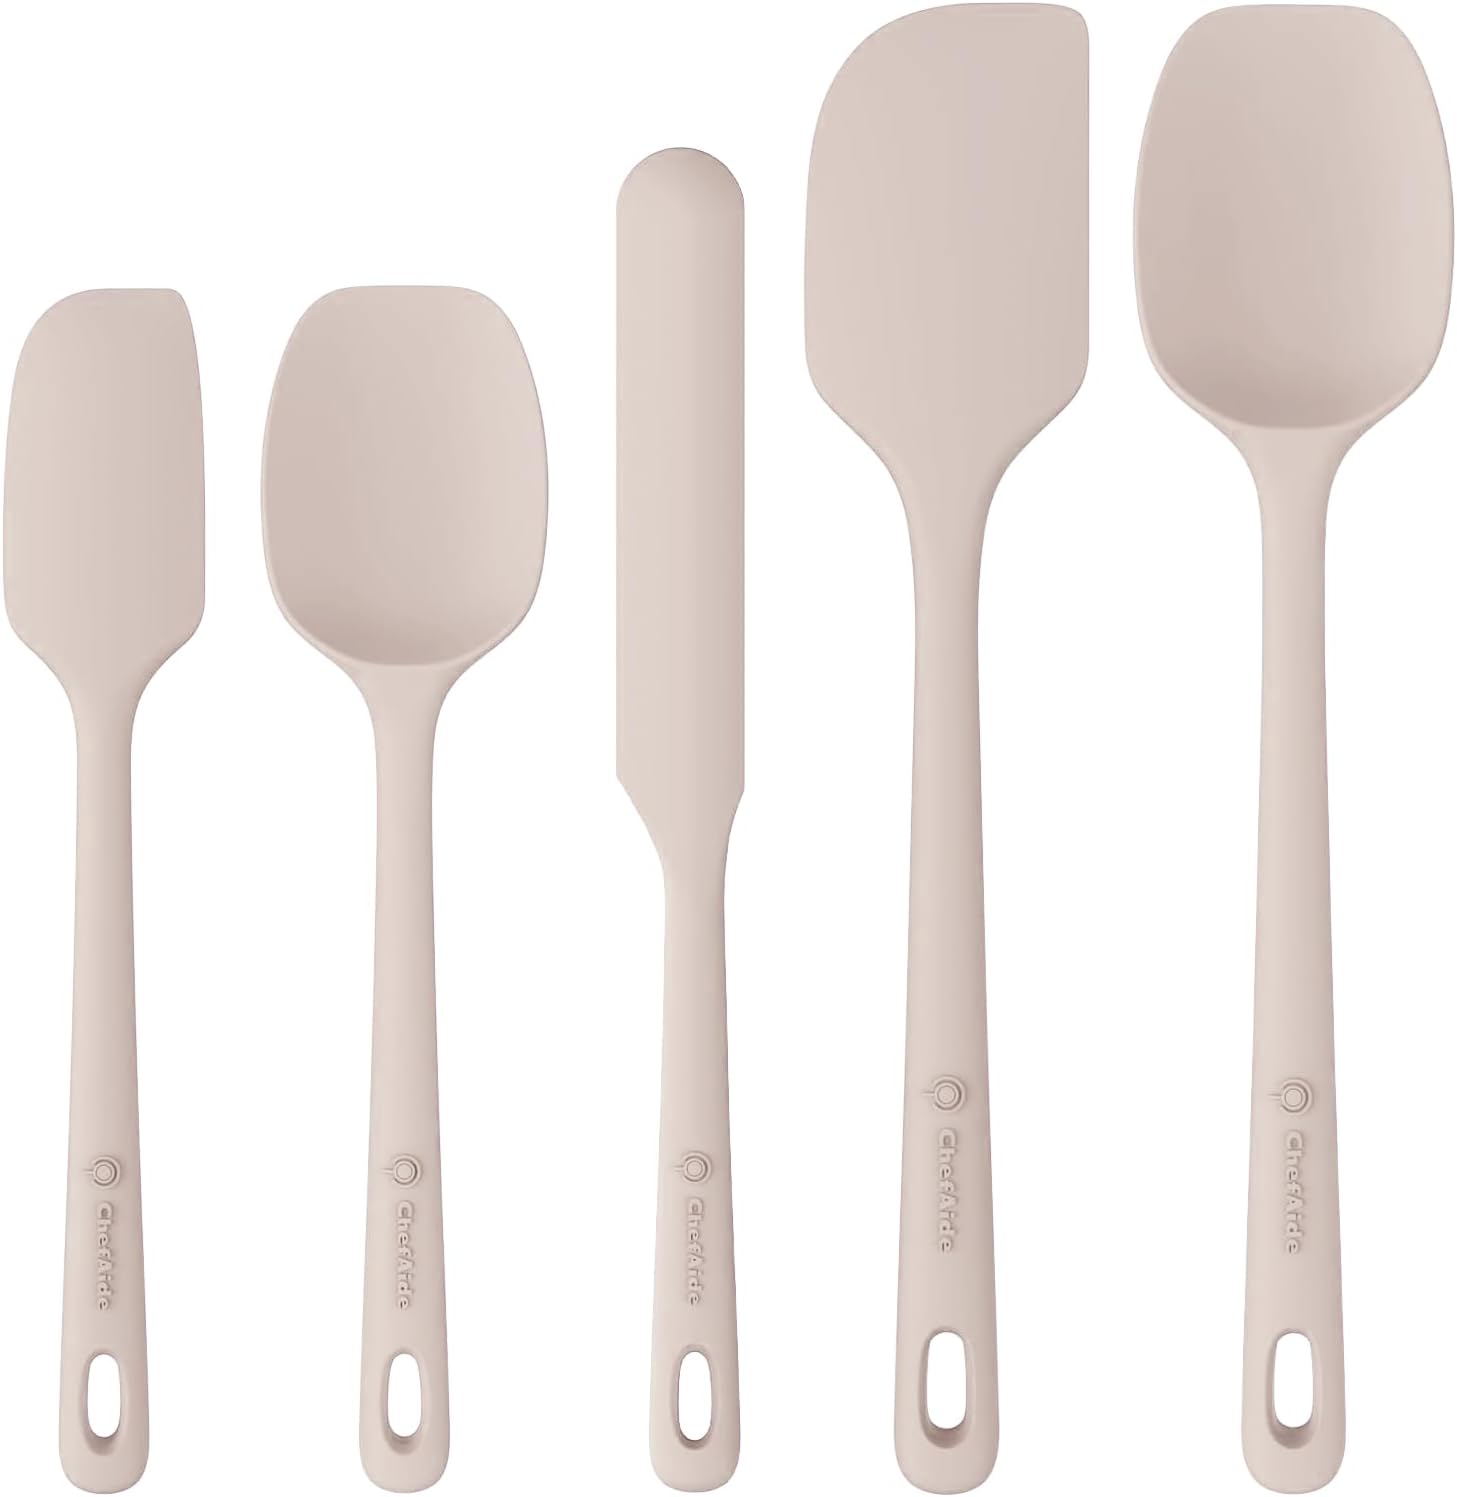
Heat-Resistant Seamless Silicone Spatula Set
Withstands up to 450°F and scrapes nonstick pans cleanly without scratching protective coatings.
 (paid link)
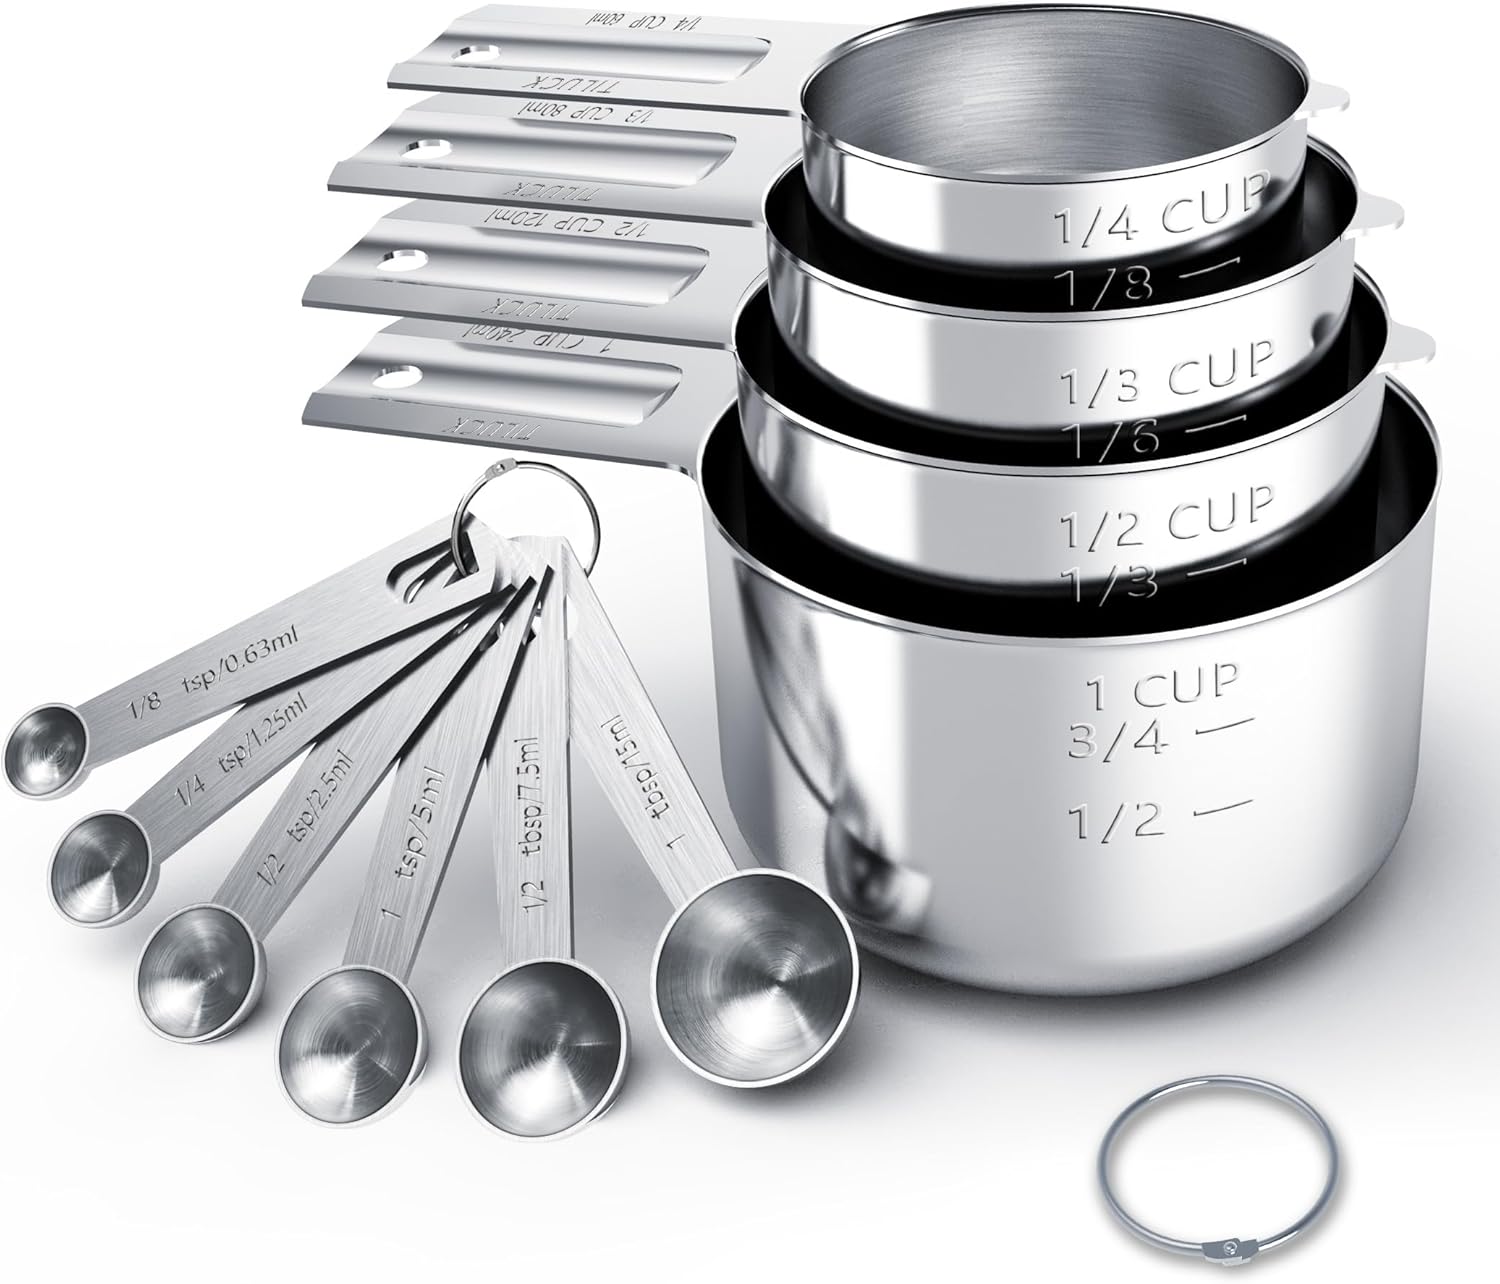
Heavy-Gauge Stainless Steel Measuring Cups & Spoons
Etched measurement markings never fade through dishwashing, ensuring precise seasoning balance.