Baking & Artisan Breads•1h 20m
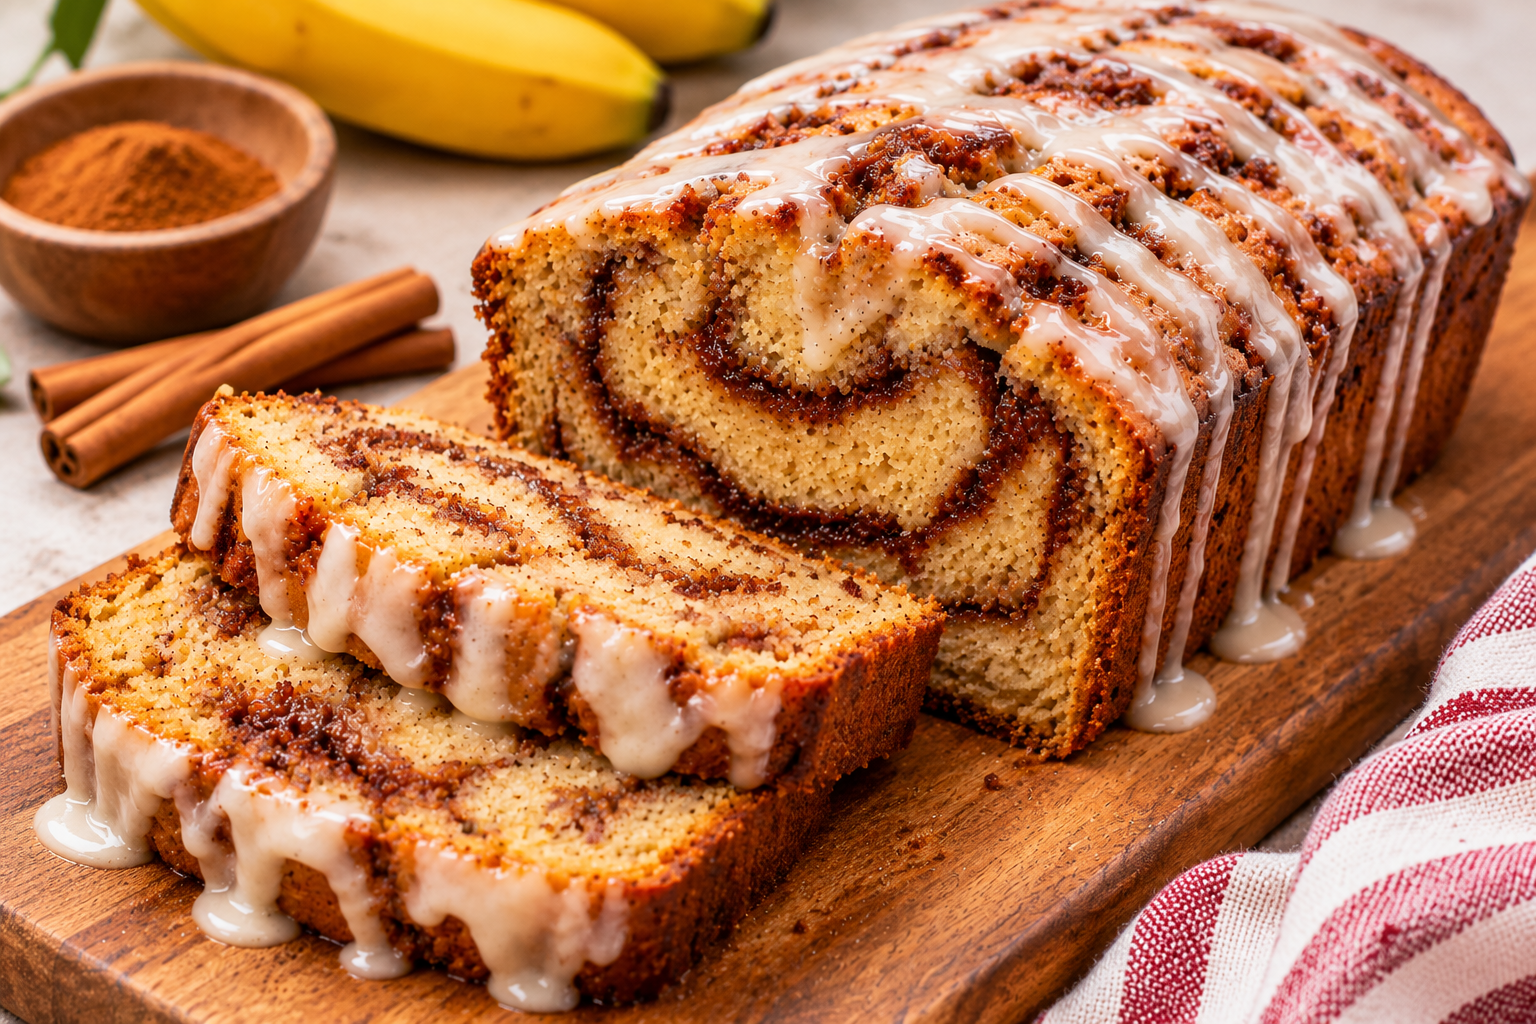
Cinnamon Roll Banana Bread
Moist banana bread with a cinnamon-brown-sugar swirl and a simple vanilla glaze.
EasyViewView Dish
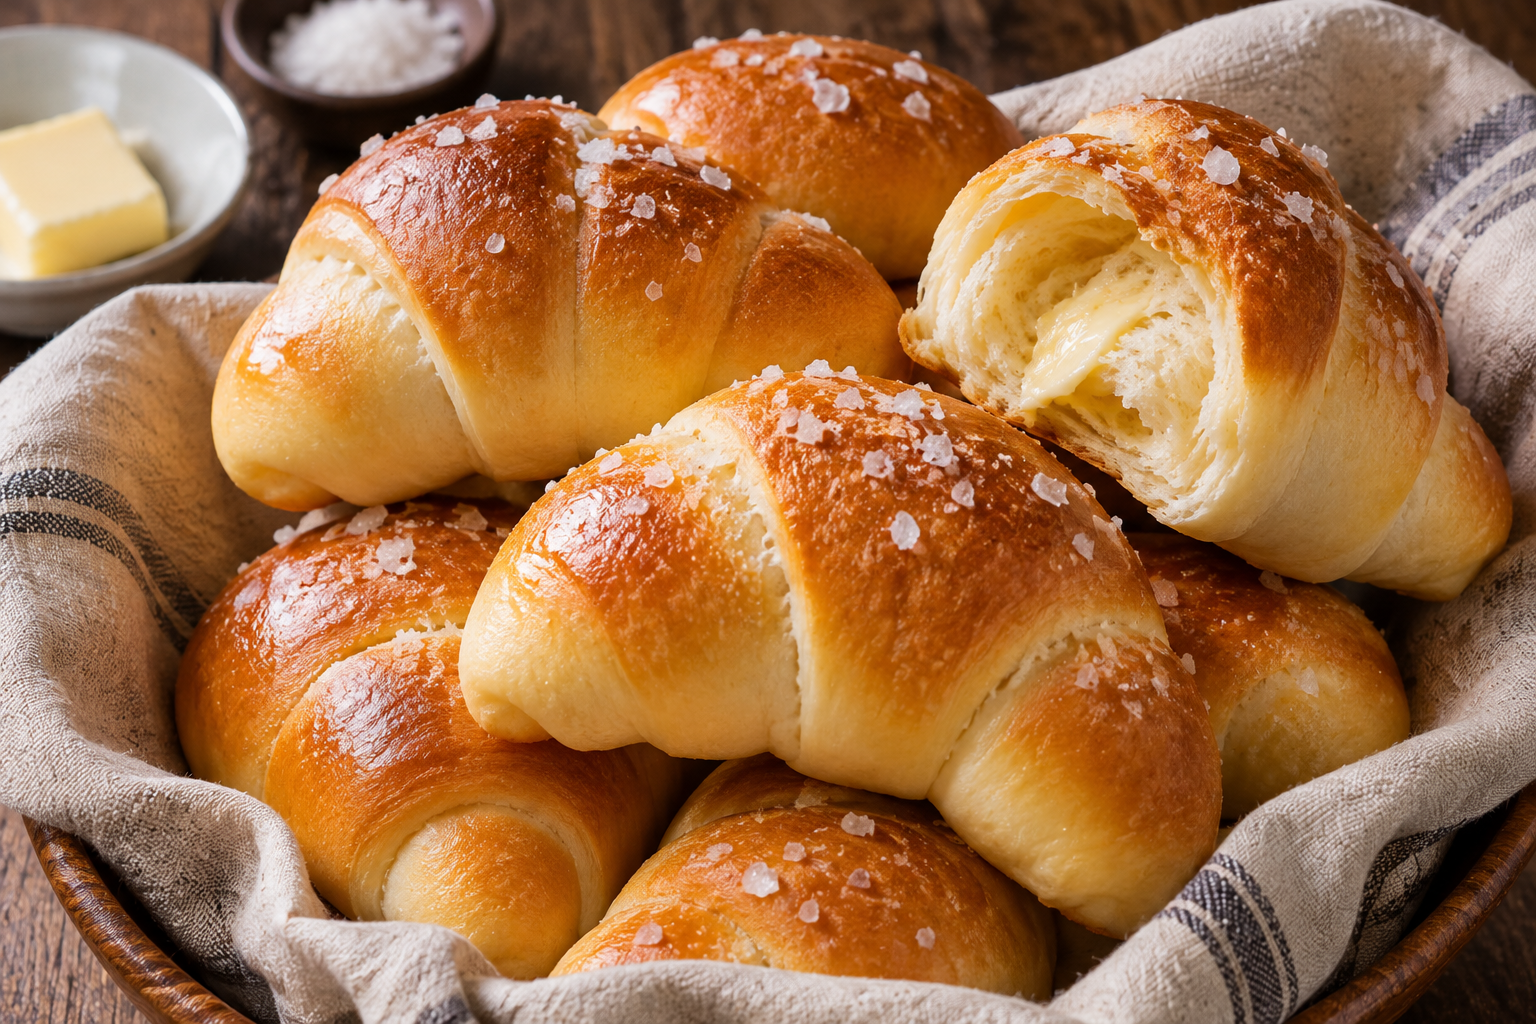
Japanese shio pan are buttery crescent-shaped rolls with a thin, crisp, salty crust and a soft, airy interior. Each roll hides a little butter that melts into the bottom as it bakes.
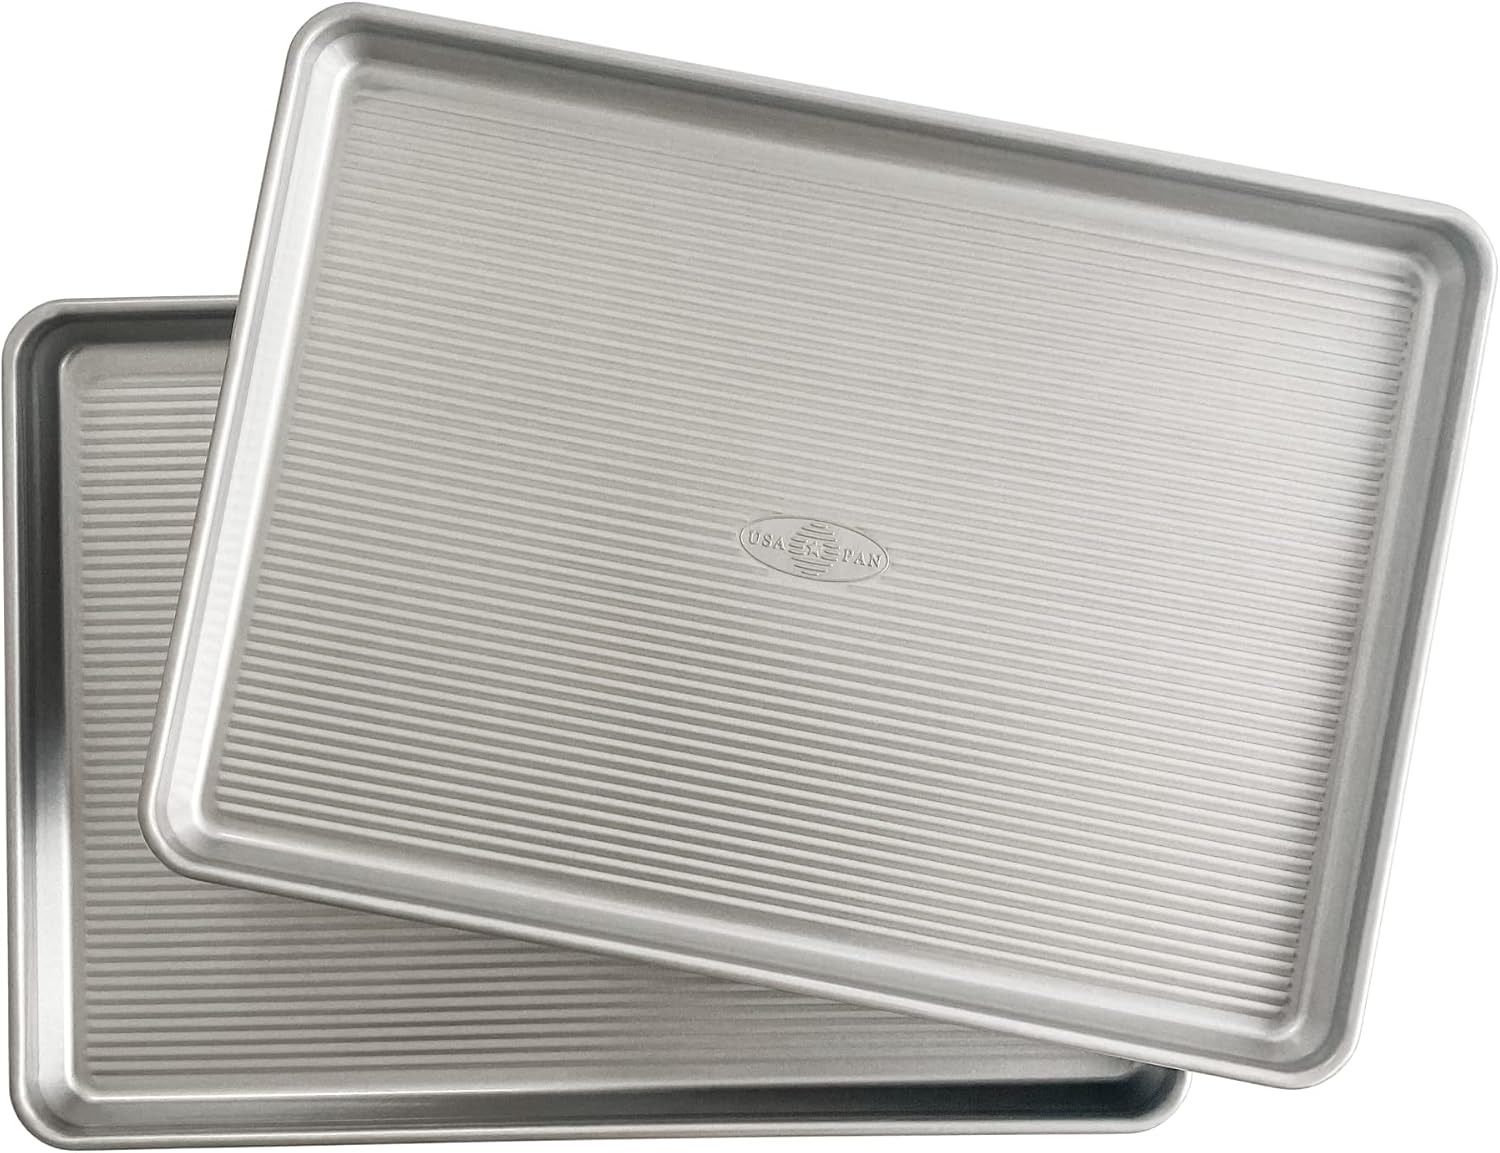
Heavy-gauge aluminum prevents warping at high heat for even sheet-pan dinners and golden rolls.
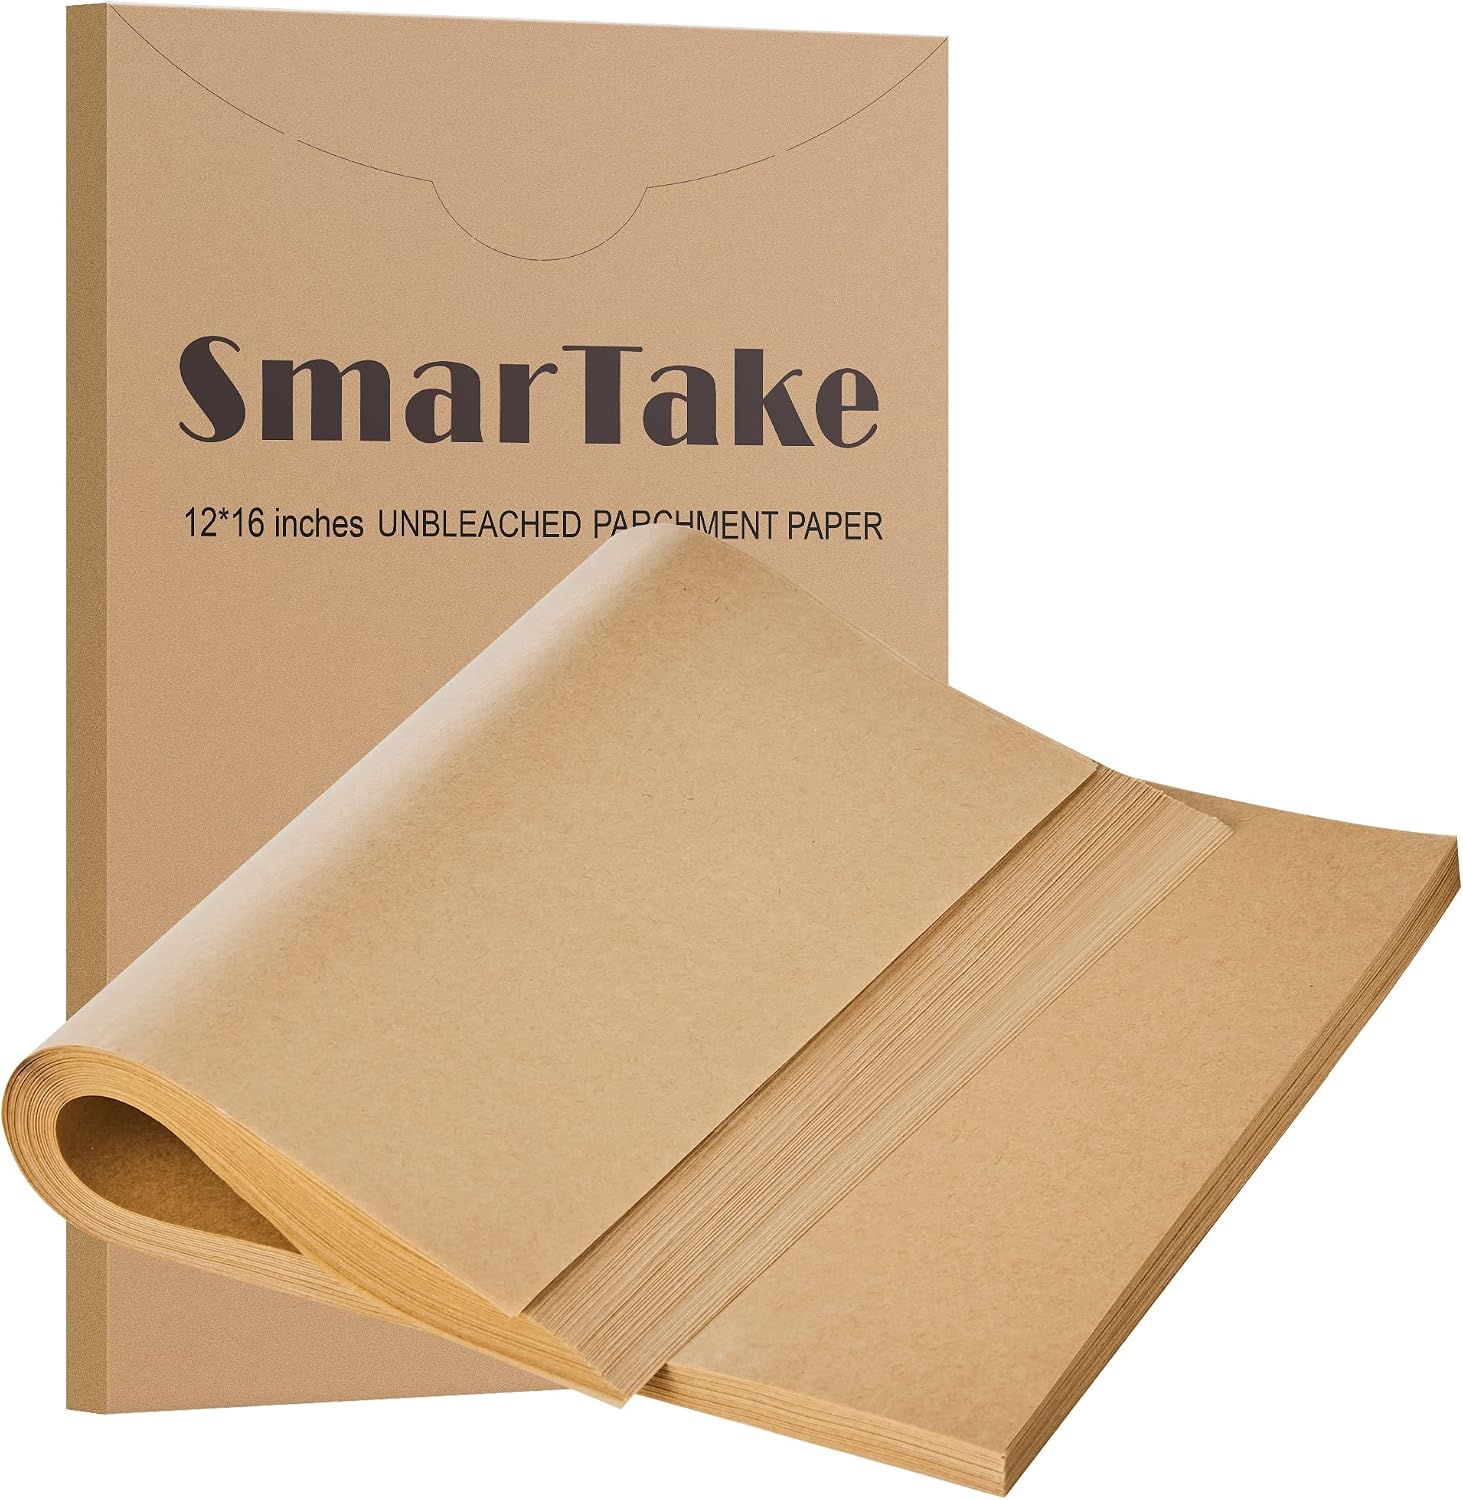
Lies completely flat on baking trays for effortless release with zero sticking and swift cleanup.
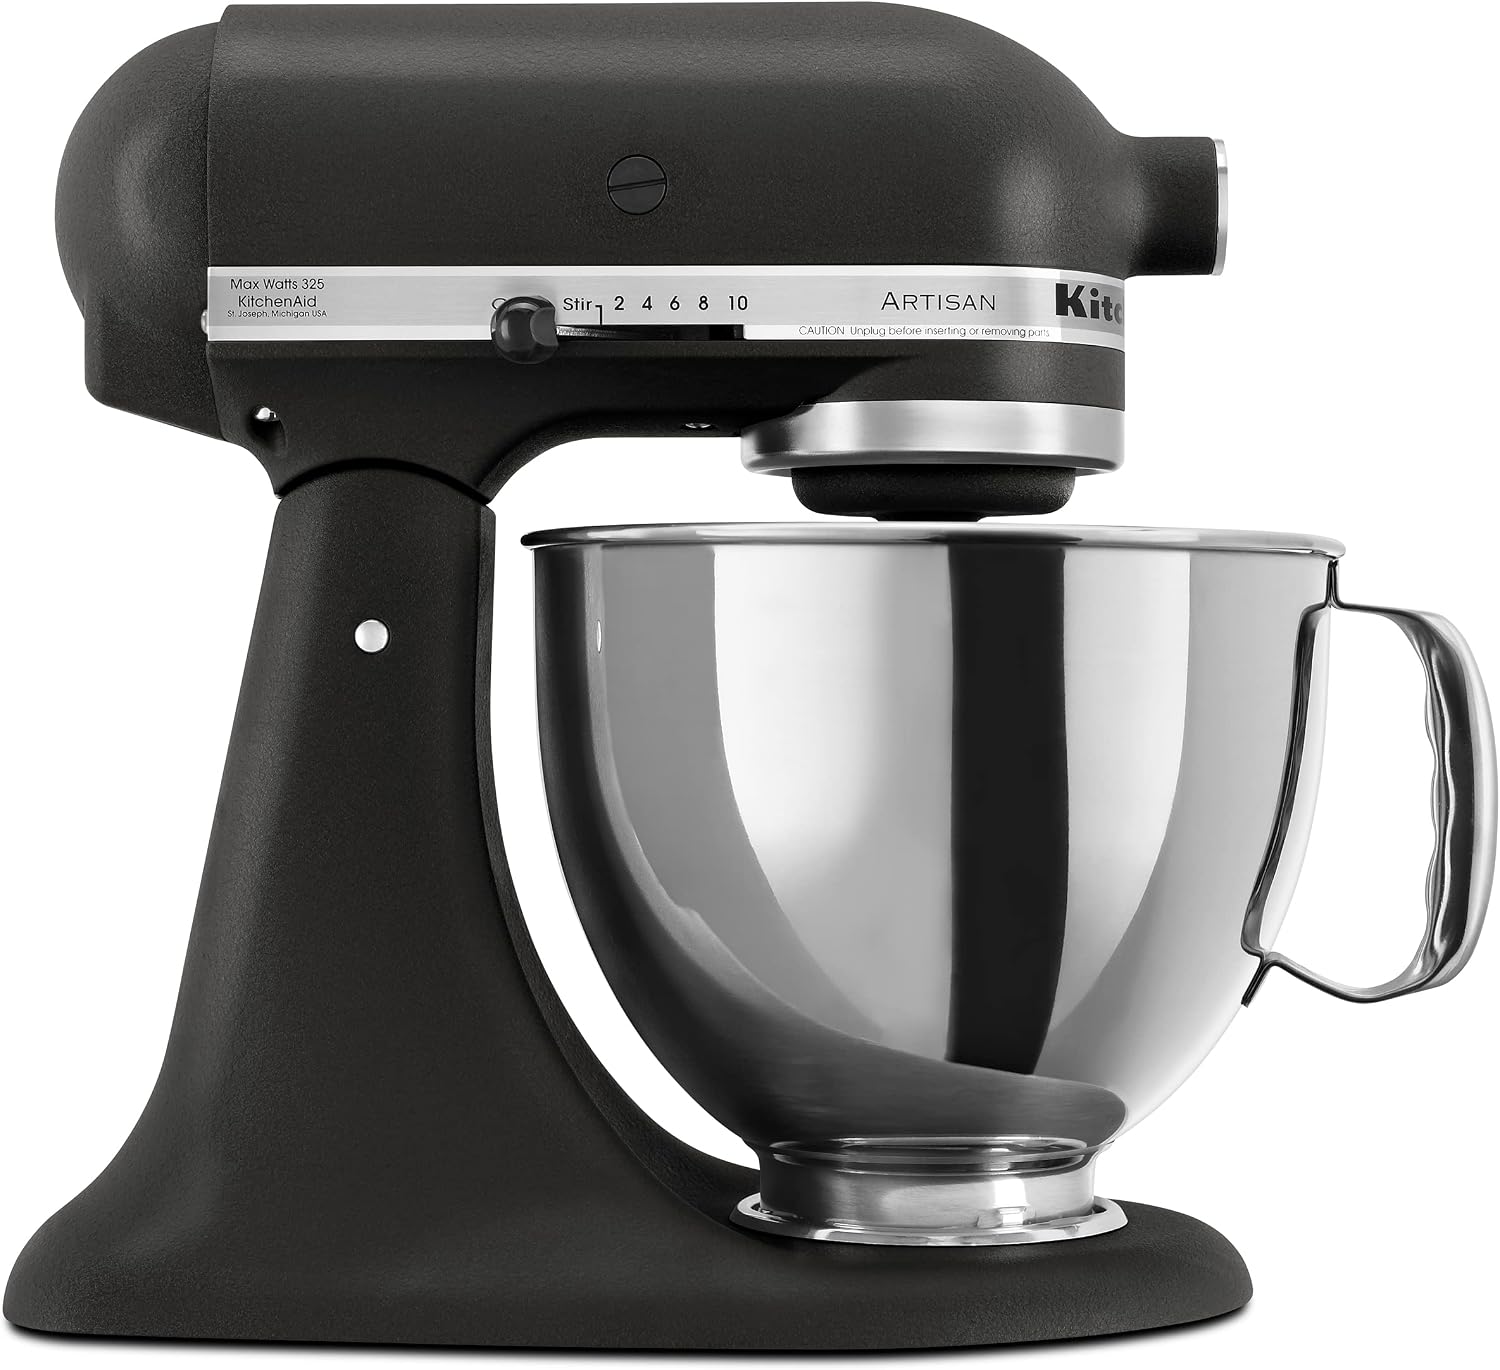
Whips batters, kneads doughs, and creams butter hands-free for professional-quality baked goods.
Tap any step or checkbox to mark as completed as you cook
Equipment: Stand mixer with dough hook (optional); large mixing bowl; kitchen scale; bench scraper; rolling pin; parchment-lined baking sheet; pastry brush; cooling rack. Timing: 30 minutes hands-on prep + about 18 minutes baking, plus 1½–2 hours rising and proofing; plan for about 2½–3 hours elapsed. Tips: Weigh dough pieces for even baking. Keep the filling butter cold and seal the dough around it to limit leakage. Do not overflour; a slightly tacky dough produces softer rolls. Proof until puffy but not fragile or collapsing. The bottoms may fry lightly in the melted butter and become crisp; this is characteristic of shio pan. Substitutions: All-purpose flour works but rolls may be less chewy; start with 2¼ cups and add only as needed. Use plant milk and vegan butter for a dairy-free version, though the flavor and browning will differ. Storage: Best eaten the day baked. Store completely cooled rolls in an airtight container at room temperature for up to 1 day or refrigerate up to 3 days. Re-crisp in a 350°F (175°C) oven for 4–6 minutes. Freeze cooled rolls in a freezer bag for up to 1 month; thaw and reheat in the oven. Avoid microwaving if you want to preserve the crisp crust.
Moist banana bread with a cinnamon-brown-sugar swirl and a simple vanilla glaze.
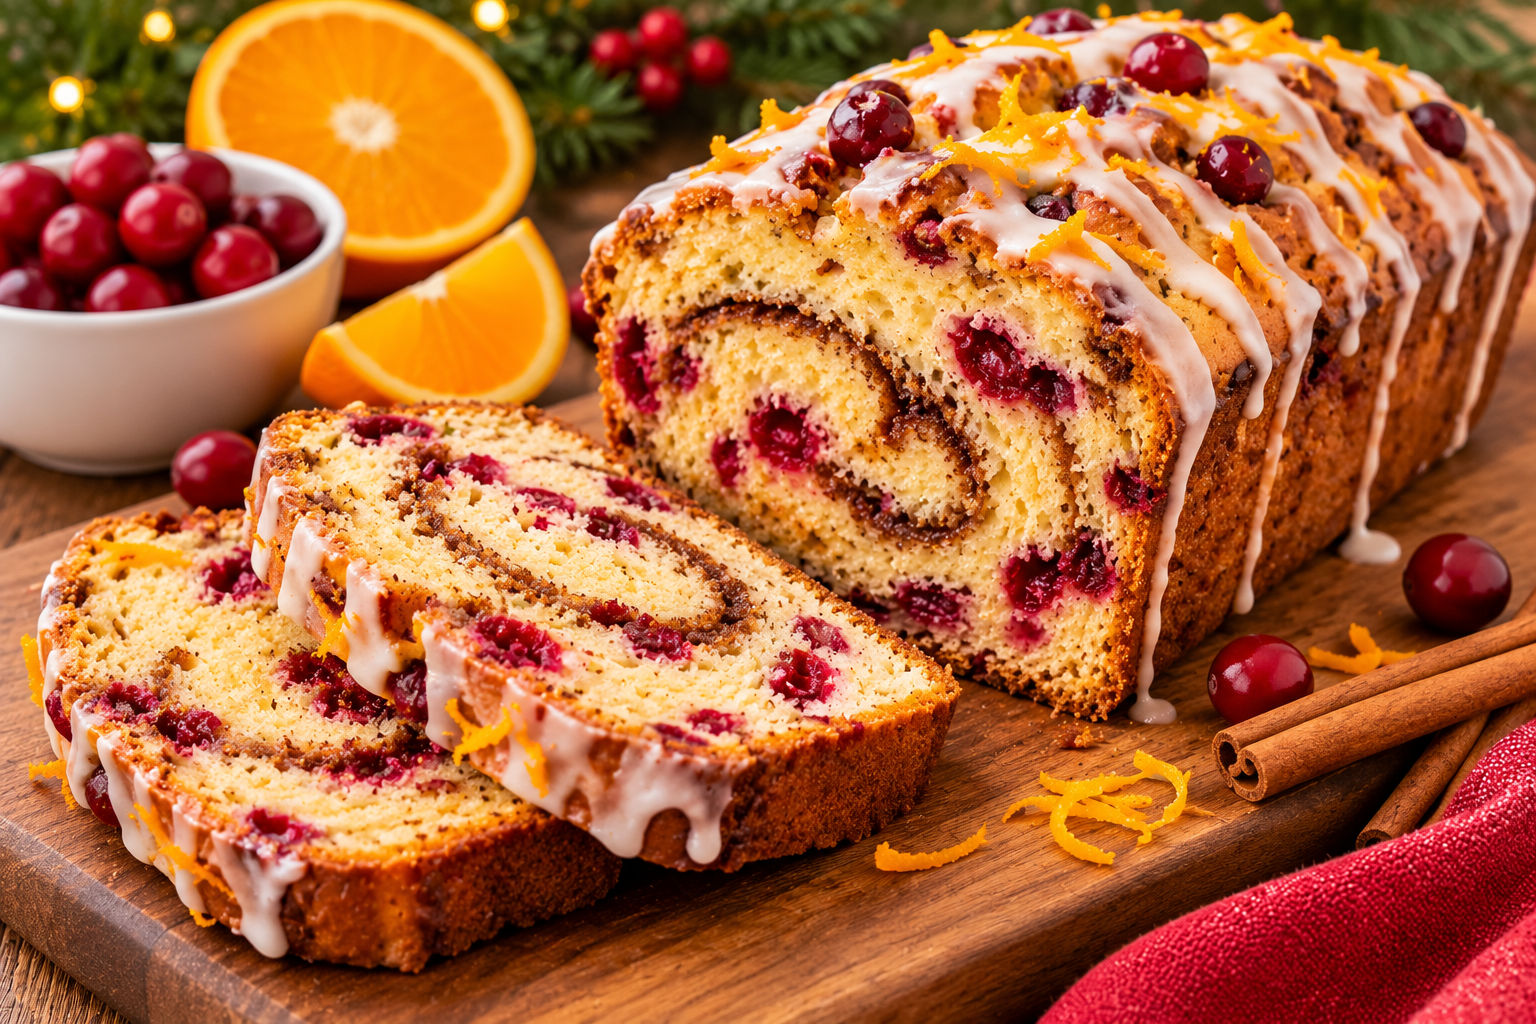
A tender orange-scented quick bread filled with tart cranberries, a brown sugar cinnamon ribbon, and a simple orange glaze.
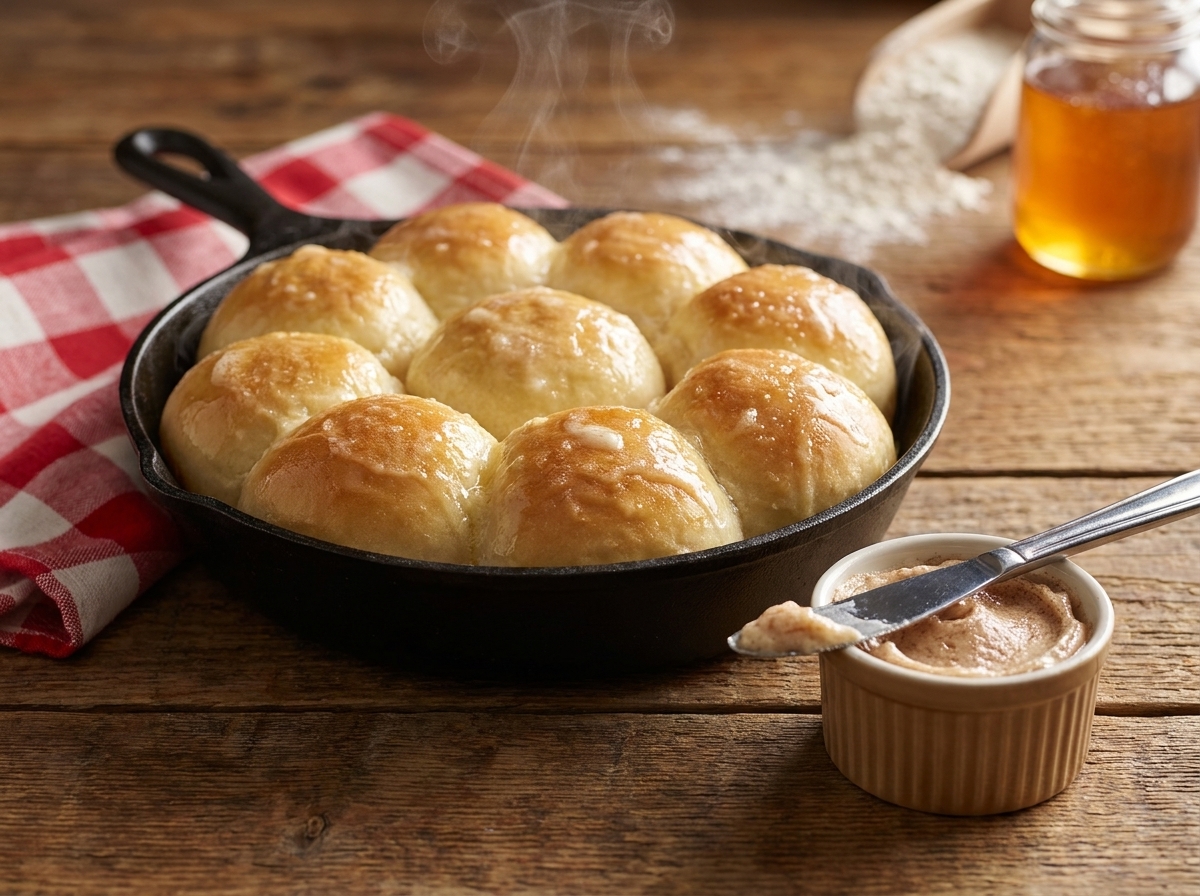
Soft, fluffy dinner rolls with a buttery cinnamon-honey spread, inspired by classic steakhouse rolls.
From our kitchen to yours
Explore our practical digital cookbooks for flexible meal ideas, smarter prep and more inspiration for everyday cooking.
Explore all cookbooksJoin our free newsletter for new recipes, practical kitchen ideas and first access to cookbook releases and special offers.
Free forever. Unsubscribe anytime with one single click.